Lactose-free yogurt is real dairy yogurt with almost none of the milk sugar left in it, and you can make it at home by leaning on the process you are already running: fermentation eats lactose. Do it long enough, start from a lactose-free milk base, or add the lactase enzyme, and you land at a yogurt most lactose-intolerant people digest comfortably. This guide covers all three levers and how to stack them.
How fermentation removes lactose
Lactose is the natural sugar in milk, and it is exactly what yogurt bacteria feed on. As the culture ferments, it pulls lactose in and splits it, converting most of it into lactic acid. That acid is what thickens the milk and gives yogurt its tang. The lactose that becomes acid is lactose that is no longer in your bowl.
Two things happen at once. The bacteria consume lactose as fuel, and they carry the enzyme lactase (beta-galactosidase), which breaks lactose into its two simpler sugars, glucose and galactose. Both effects lower the lactose you actually ingest, and the live cultures even carry some of that lactase into your gut, where it keeps helping you digest what remains.
This is the whole reason plain fermented dairy is easier on lactose-sensitive stomachs than fresh milk. For a fuller comparison of how the two ferments differ, see kefir vs. yogurt.
Fermentation time vs. lactose reduction
The single biggest variable is how long you hold the milk warm. A quick set leaves plenty of lactose; a long one removes most of it. These are working ranges at a typical incubation of 42–44C / 108–111F using standard yogurt strains, not lab-exact figures, since milk, culture, and temperature all shift the curve.
Read the table below against your own goal. Someone mildly sensitive may do fine on a longer standard set, while a strongly intolerant gut is better served stacking a lactose-free base with a full 24-hour ferment.
| Fermentation time | Approx. lactose reduction | Texture and flavor | Best for |
|---|---|---|---|
| 4–6 hours | ~15–25% | Mild, soft set | Regular yogurt, not low-lactose |
| 6–12 hours | ~20–50% | Classic tang, firm set | Mild sensitivity |
| 12–18 hours | ~50–70% | Tangier, slightly thinner | Moderate sensitivity |
| 24 hours | ~80% or more | Sharp, tart, may need straining | Lactose intolerance (SCD/GAPS style) |
| 24h + lactose-free milk | Near zero | Tart but sweeter base | Maximum reduction |
Fermenting much past 30 hours does not meaningfully lower lactose further and starts to risk a starved, separated, or off-tasting batch, so 24 hours is the practical sweet spot. To plan how long a ferment fits your tolerance and taste, the low-sugar yogurt fermentation guide walks through the same time-versus-sugar tradeoff in more depth.
Starting from lactose-free milk
The fastest way to a low-lactose result is to begin with milk that is already low in lactose. Store-bought lactose-free milk is simply regular dairy milk with the lactase enzyme added at the dairy, so the lactose is pre-split into glucose and galactose before it ever reaches you. It is still dairy, with the same protein and calcium.
Yogurt cultures ferment that milk without any trouble. In fact they often work a little faster, because glucose and galactose are more immediately accessible than intact lactose. Expect a slightly sweeter base and, sometimes, a marginally softer set.
The same base works for cultured drinks too. If you make kefir, the lactose-free milk for kefir guide covers how these milks behave with grains rather than a yogurt starter.
24-hour yogurt: the classic low-lactose method
The best-known approach to genuinely low-lactose homemade yogurt is the 24-hour ferment, popularized by the Specific Carbohydrate Diet (SCD) and GAPS protocols. The principle is simple: give the bacteria a full day at fermentation temperature and they consume the large majority of the lactose, commonly 80% or more.
- 1Heat and cool the milk Heat milk to about 82C / 180F to denature the whey proteins for a firmer set, then cool to 42–44C / 108–111F before adding culture.
- 2Inoculate Stir in a few tablespoons of live plain yogurt, or a freeze-dried starter, so the cultures are evenly distributed.
- 3Hold warm for a full 24 hours Keep the milk at a steady 42–44C / 108–111F for 24 hours. A yogurt maker with a timer, or an oven with the light on, holds temperature best.
- 4Chill before tasting Refrigerate at least 4–6 hours. The yogurt firms up cold and the sharp tang mellows slightly.
- 5Strain if you want it thick A long ferment can run thin. Strain through cloth for a Greek-style body, which also removes a little more of the lactose-rich whey.
Two cautions come with the long ferment. It tastes distinctly tart, more sour than a short set, and it can separate if your temperature drifts high or you push well past 30 hours. Hold the temperature steady and stop at 24 hours unless you have a reason to go longer.
Watch for
- Do not ferment beyond about 30 hours You risk starving the culture, off flavors, and separation with little extra lactose benefit.
- Unstable temperature is the top cause of thin or grainy 24-hour yogurt. Use a maker or a reliably warm spot.
- Lactose-free does not mean allergy-safe This is still dairy and unsuitable for a milk allergy.
Related calculator
Yogurt Starter Calculator
Calculate how much yogurt starter culture you need per litre or gallon of milk. Works with freeze-dried and fresh cultures.
Choosing your starter cultures
Any culture that ferments milk into yogurt is already reducing lactose, but the workhorses are the two traditional yogurt strains. Both feed on lactose and carry the lactase that does the splitting.
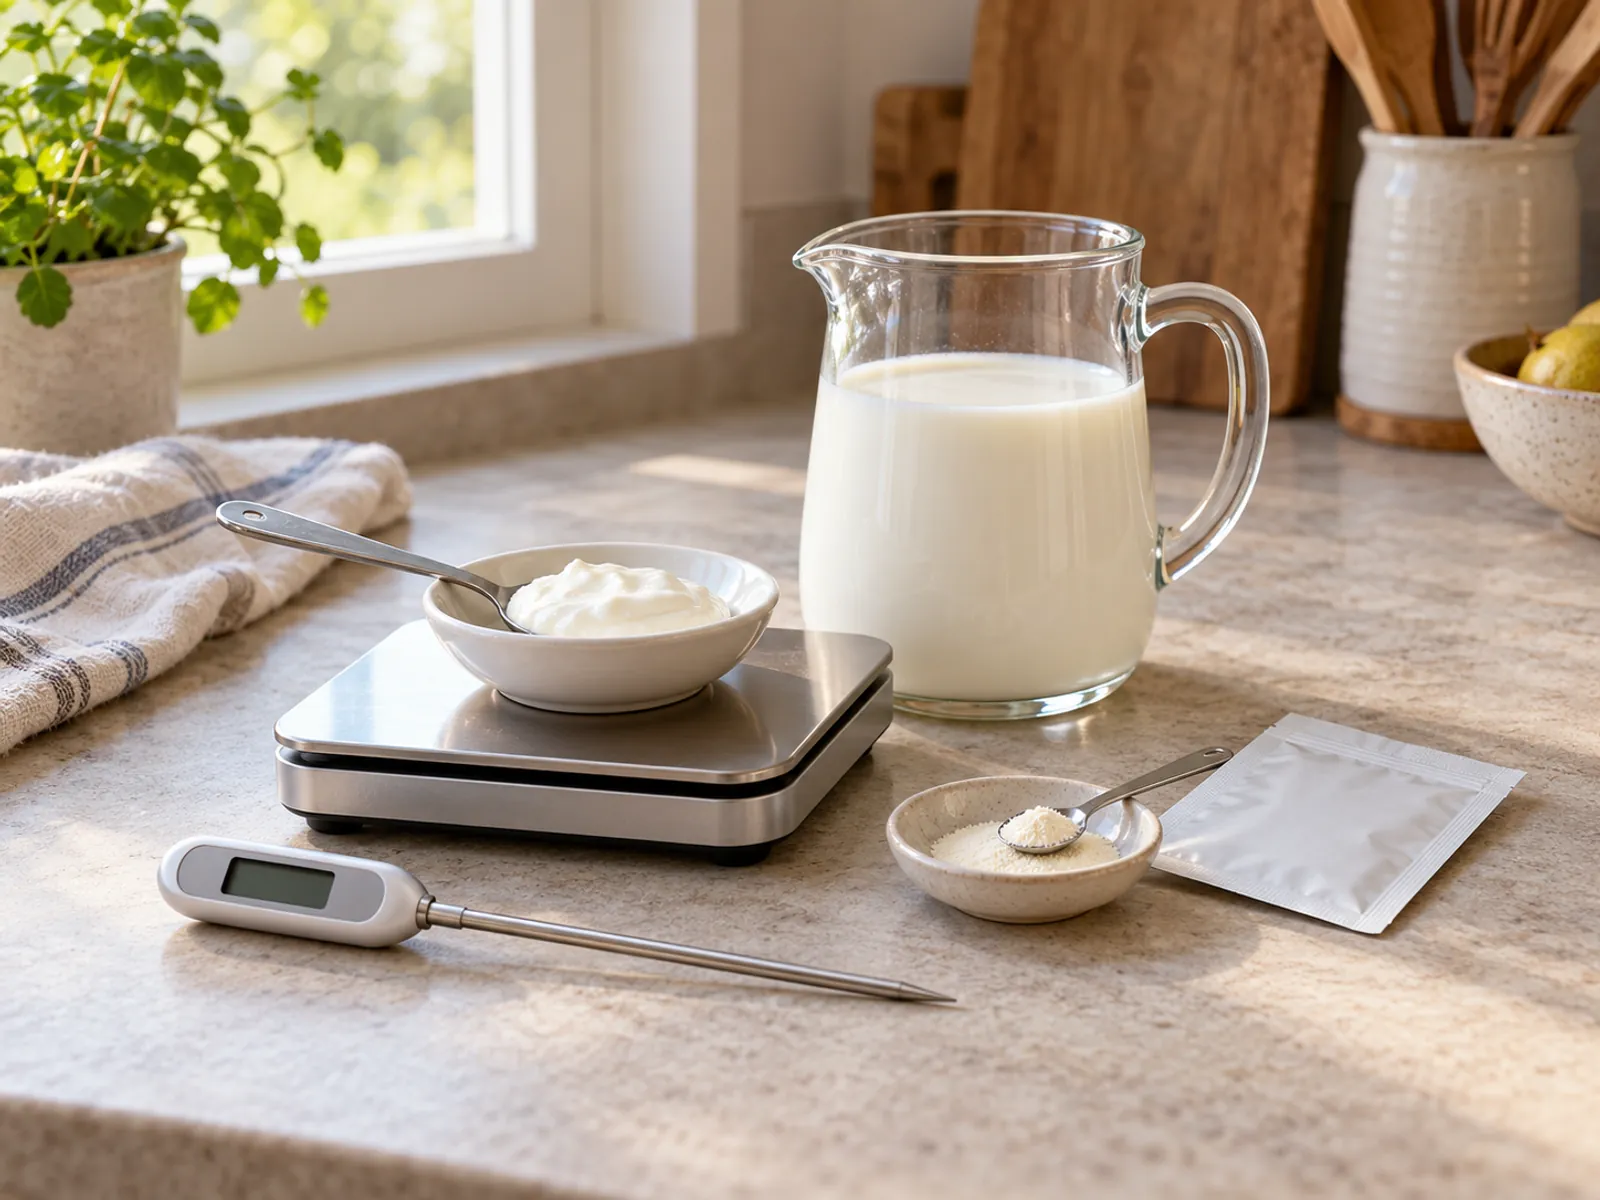
You have two easy paths to a starter. Reuse a few tablespoons of a plain live-culture yogurt you already trust, or buy a measured freeze-dried yogurt starter for consistency batch to batch. To work out exactly how much starter a given volume of milk needs so you neither under- nor over-inoculate, use the yogurt starter calculator. Adding lactase drops is the belt-and-braces move: it splits lactose before the bacteria even begin, so a lactase-dosed 24-hour ferment gets you as close to lactose-free as home methods allow.
Free Kefir Ratio Reference Card (printable PDF)
A printable PDF companion for the kefir calculators and guides.
Lactose-free is not dairy-free
This trips people up constantly, and the distinction matters for anyone shopping or cooking around a restriction. They are not the same category.
Everything in this guide is about lactose-free yogurt, which stays dairy. If you specifically need a plant base, that is a different ferment with different cultures and thickeners, not covered here. For the foundations of culturing dairy milk in general, the homemade yogurt guide is the place to start.
Stacking the methods for the lowest lactose
The three levers are independent, so you can stack them. Each one on its own helps; together they get you to a yogurt with only a trace of lactose left.
- 1Start with a lactose-free milk base You begin near zero rather than at full milk lactose. Ultra-filtered lactose-free milk also gives a firmer set.
- 2Optionally add lactase drops A food-grade dose splits any remaining lactose before culturing begins.
- 3Ferment a full 24 hours Hold 42–44C / 108–111F for a day so the cultures consume what sugar is left.
- 4Strain for body and a final trim Straining thickens the yogurt and pours off some lactose-carrying whey.
For a simple cultured-dairy result without a yogurt maker, kefir is worth a look, and the ratio of grains to milk is what sets its ferment. Dial that in with the calculator below.
Keep exploring cultured dairy
Ready to go deeper? Start with the homemade yogurt guide for the base method, then read the low-sugar yogurt fermentation guide to fine-tune ferment length for taste and sugar. If you are weighing yogurt against a drinkable ferment, kefir vs. yogurt lays out the differences, and lactose-free milk for kefir covers the same low-lactose base with grains instead of a starter.