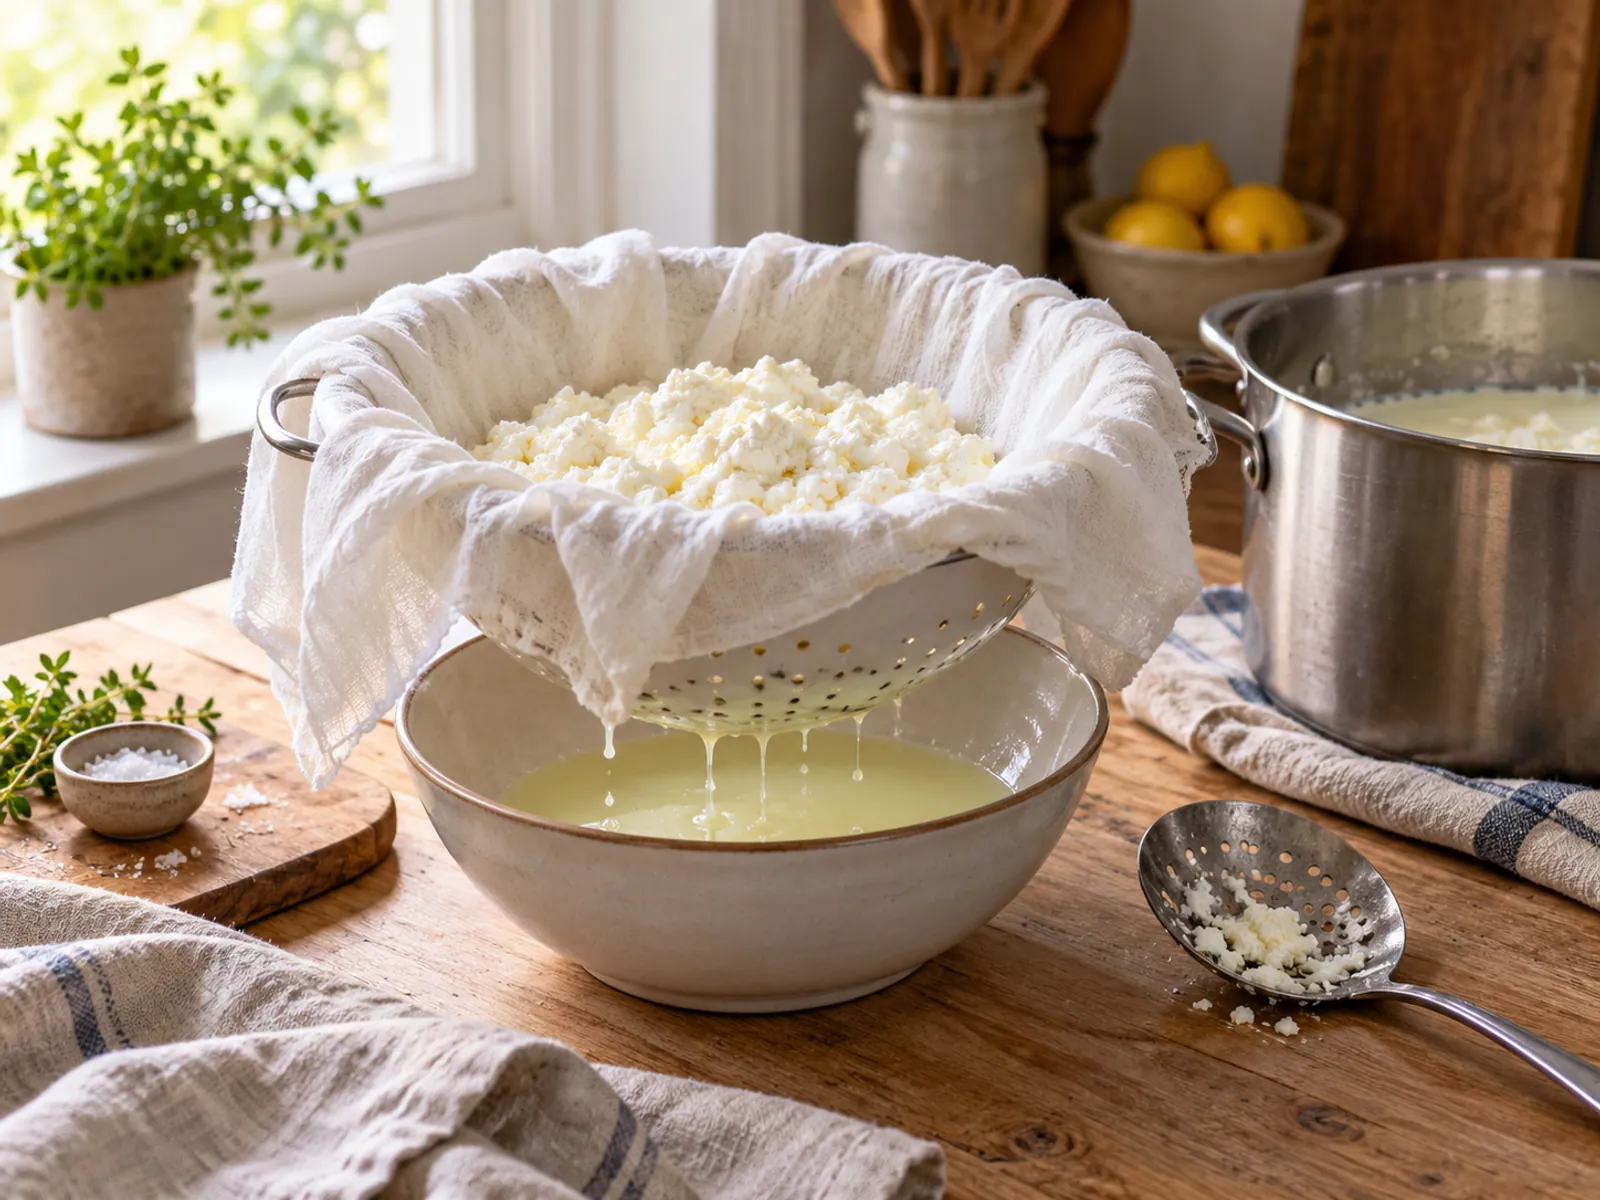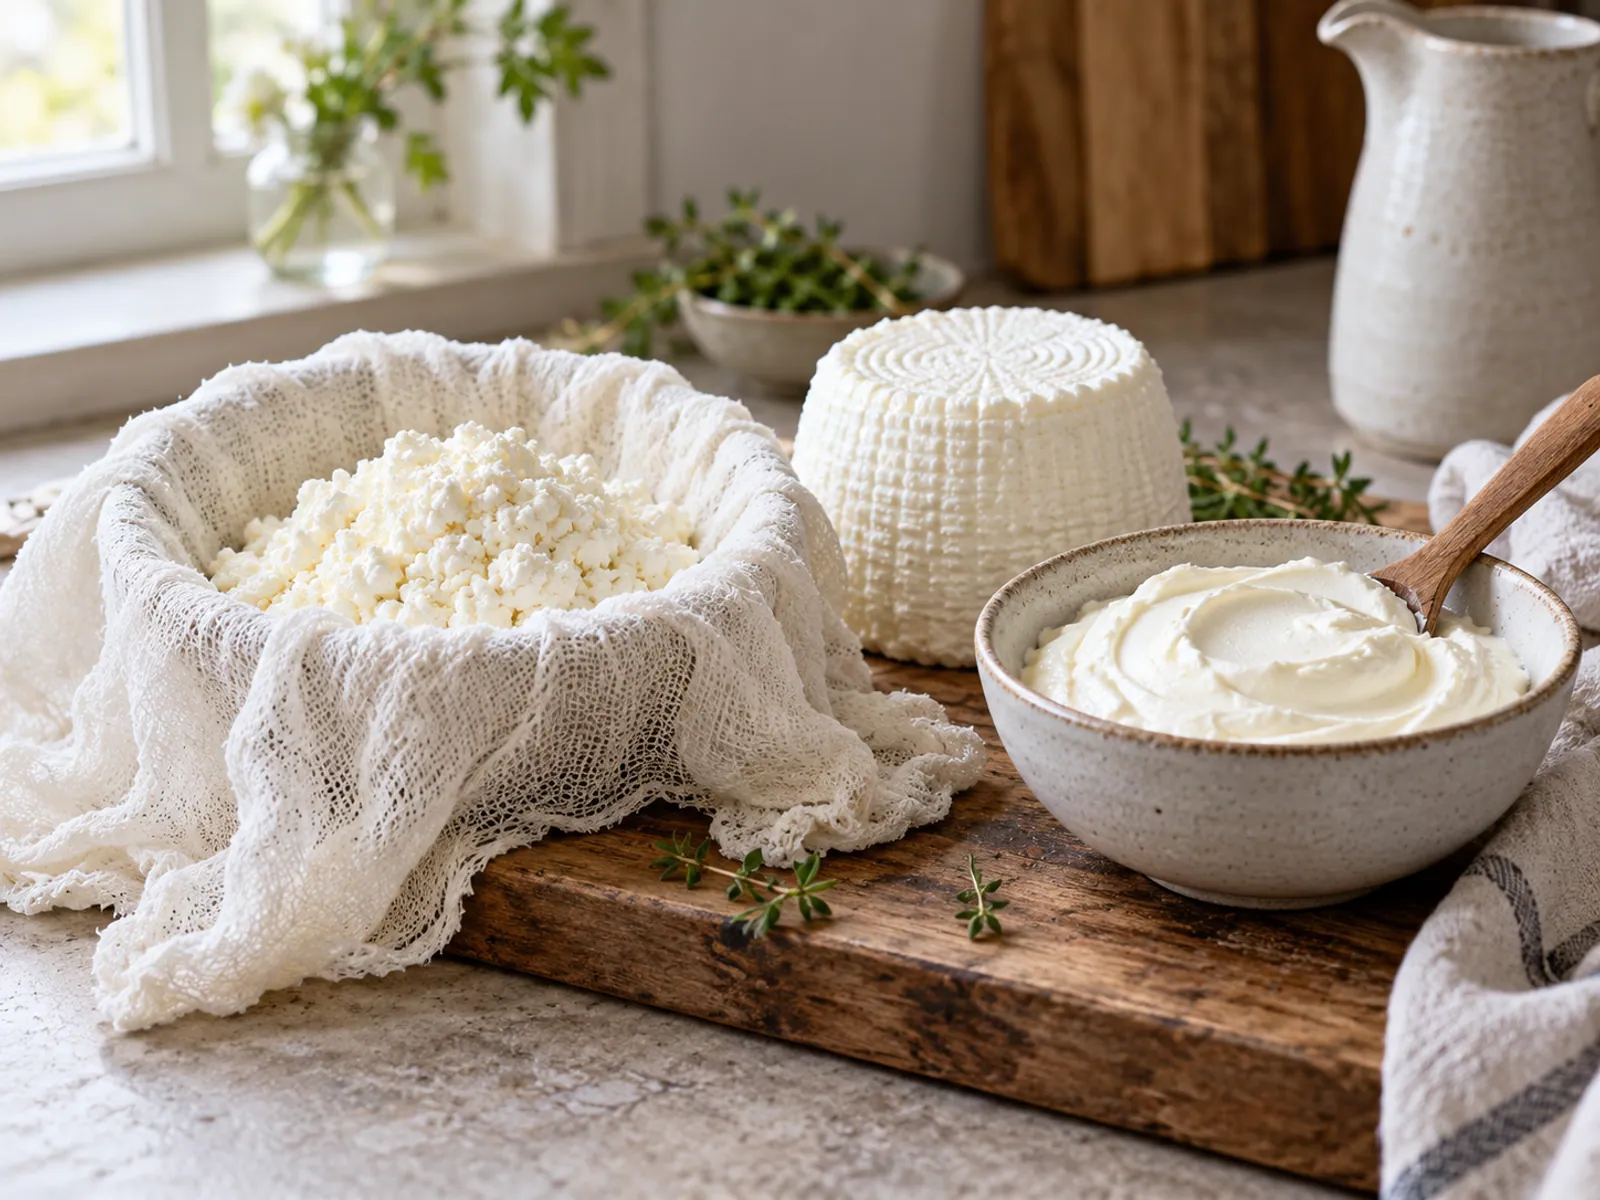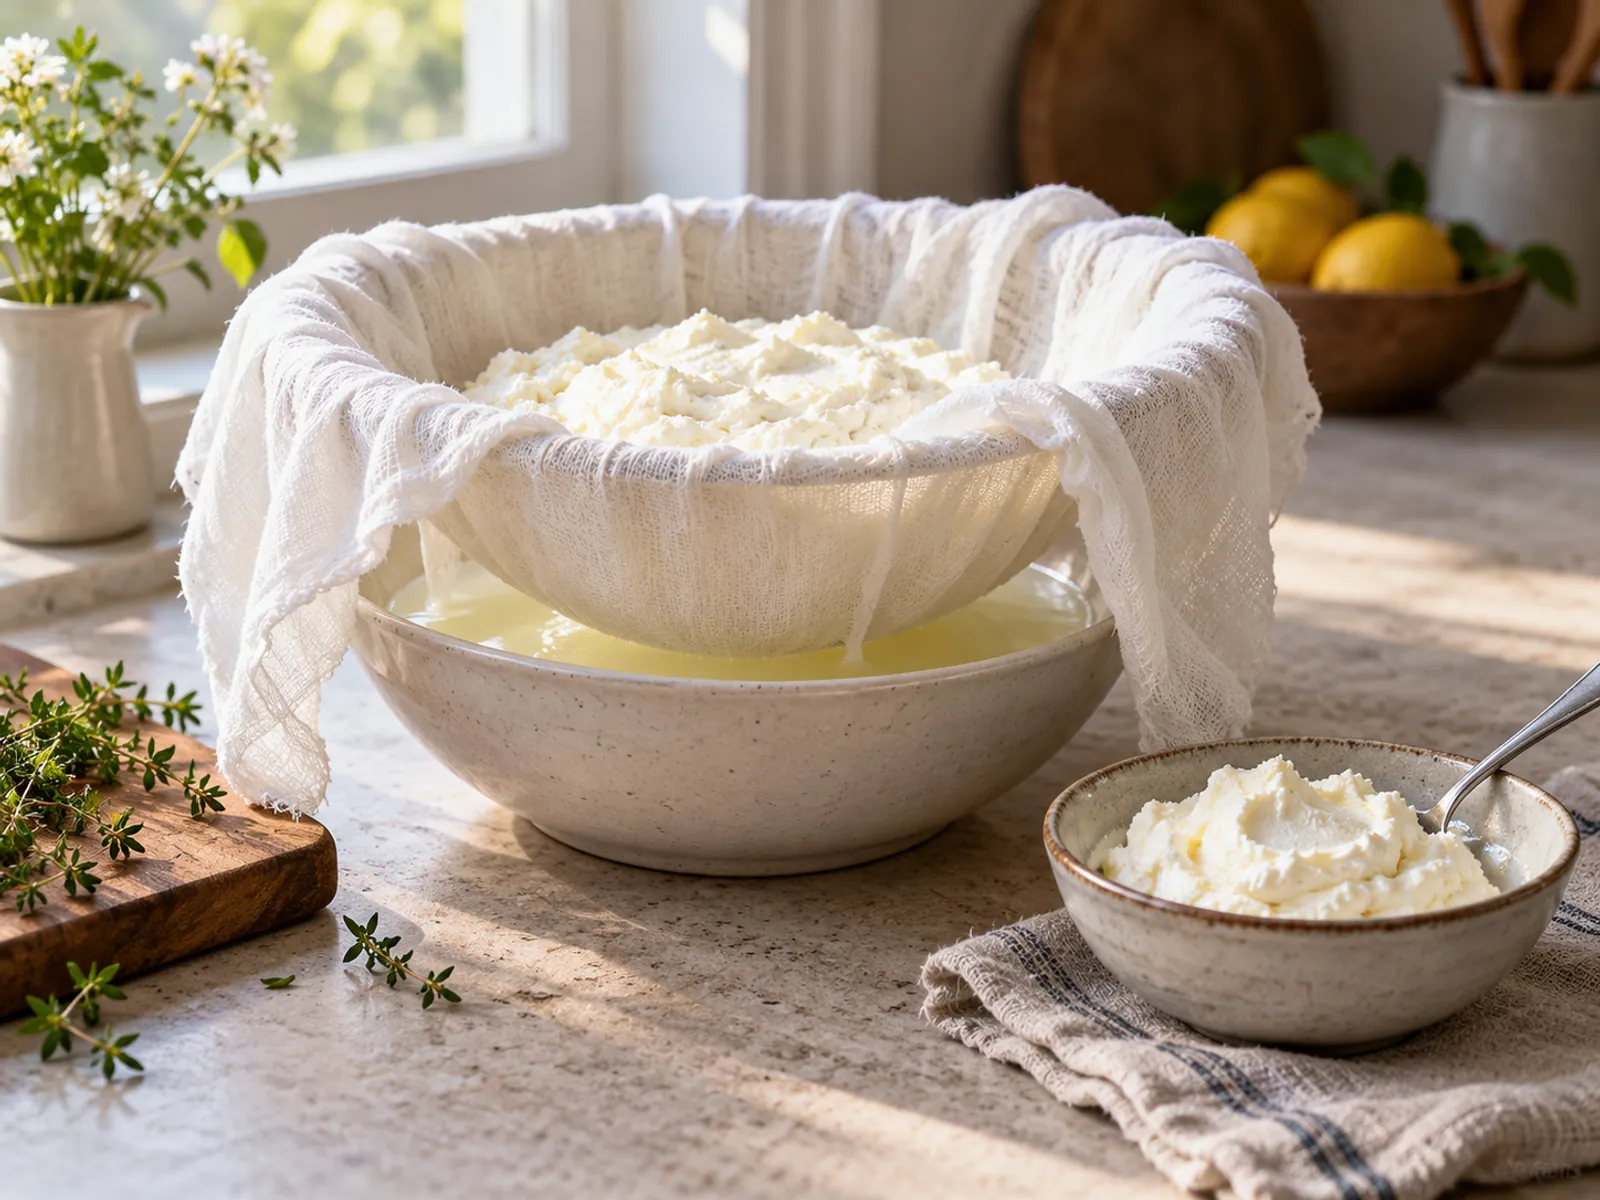

Camembert is a soft-ripened, bloomy-rind cheese: acidified with a mesophilic starter, coagulated with rennet, then finished by a white mold that grows inward from the surface and slowly turns a firm chalky curd into a soft, creamy paste. The technique is different from hard cheese in two ways that matter most. The curd is barely cut and never pressed, and the real work happens after the cheese leaves the mold, in a cool, humid box where the rind blooms and the interior ripens over three to five weeks. This guide walks the whole path from milk to finished wheel.
What makes Camembert a bloomy-rind cheese
Camembert belongs to the soft-ripened family, alongside Brie. Unlike a pressed, aged cheese that ripens evenly throughout, a bloomy-rind cheese ripens from the outside in. Penicillium camemberti colonizes the surface as a soft white bloom, and its enzymes break down the paste just beneath the rind first, so a young Camembert has a runny layer under the skin and a firm, chalky core, while a fully ripe one is soft all the way through.
That single fact shapes every decision below. You keep the curd moist and loosely knit so the enzymes can travel through it, you salt lightly so the mold can grow, and you ripen cool and humid so the bloom develops before the inside turns to liquid.
If you have never made a rennet cheese before, read how to make cheese at home first for the universal steps, then the soft cheese making guide for the gentle-curd handling this style depends on.
Milk selection and how much you need
Use whole cow’s milk. The one hard rule is to avoid ultra-pasteurized (UHT) milk, which will not form a clean curd no matter how much rennet you add. Standard pasteurized whole milk works well; if you use it, add calcium chloride to restore the set. Raw milk from a trusted source makes exceptional Camembert. Some makers add a little cream to push the fat higher for a richer paste.
Camembert is a high-moisture cheese, so yield is modest: expect roughly a tenth of your milk’s weight as finished cheese. A standard wheel is small, about 250 g (9 oz), so a single gallon batch makes a pair of them.
| Milk volume | Wheels (approx.) | Finished cheese |
|---|---|---|
| 2 L (0.5 gallon) | 1 small wheel | ~200–250 g / 7–9 oz |
| 4 L (1 gallon) | 2 small wheels | ~0.45 kg / 1 lb |
| 8 L (2 gallons) | 4 small wheels | ~0.9 kg / 2 lb |
Yields vary with fat content and how much whey drains off, so treat the table as a planning guide. To size a batch against a target weight of finished cheese, run the numbers through the milk to cheese calculator or the cheese yield calculator.
The cultures and mold spores you need
Camembert relies on a starter to acidify the milk and on surface molds to ripen the finished cheese. These go into the warm milk together, before the rennet.
Buy the molds as powdered spores from a cheesemaking supplier and follow the pinch quantities on the packet, since potency varies by brand. For the full picture on starter types and how they interact, see the guide to cheese cultures.
The curd process: ripen, rennet, cut, ladle
This is the day-one work. The temperatures are gentle and the handling even gentler. The goal is a soft, moist curd, not a firm one.
- 1Warm and ripen the milk Heat milk slowly to 32°C (90°F) in a water bath. Sprinkle the mesophilic starter, Penicillium camemberti, and Geotrichum candidum over the surface, let them rehydrate for 2 minutes, then stir in gently. Cover and hold at 32°C for 60–90 minutes to ripen.
- 2Add calcium chloride if needed For pasteurized milk, dilute about 1/4 teaspoon calcium chloride per 4 L in 60 mL of cool unchlorinated water and stir in. Skip for raw milk.
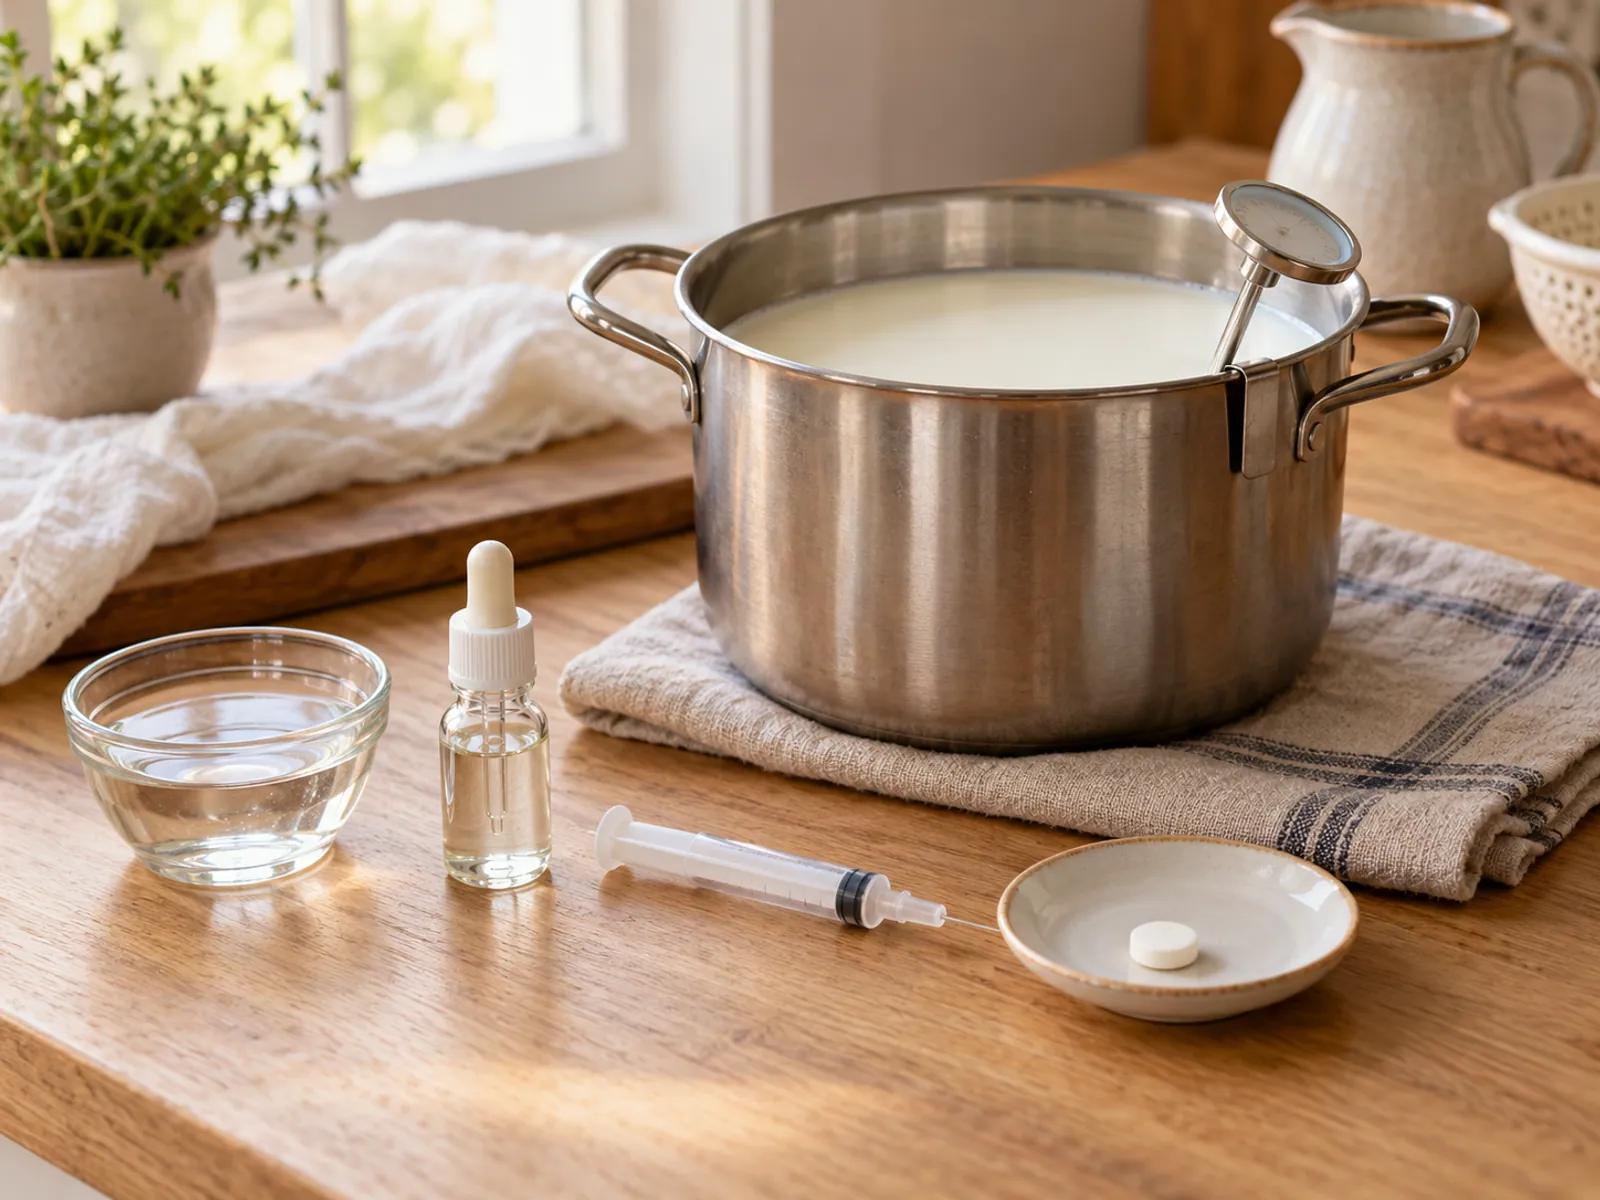
- 3Add rennet and set Dilute your rennet dose in 60 mL cool unchlorinated water, stir into the milk for no more than 1 minute, then stop all movement. Cover and let it set undisturbed for 60–90 minutes, until you get a clean break: a knife slipped in at an angle lifts a firm curd and clear whey fills the gap.
- 4Cut large curds Cut the curd into large cubes, roughly 1.5–2 cm (about 3/4 inch). Larger cubes keep more moisture in the curd, which is exactly what you want for this style. Let them rest 5 minutes to heal.
- 5Rest and settle Stir very gently for a few minutes, then let the curds settle for 10–15 minutes. Do not cook them. The curds should sink and firm up only slightly while whey rises.
- 6Ladle into molds Set open-ended Camembert molds on a draining mat over a tray. Ladle the soft curds gently into the molds, filling them in stages as the curd settles and sinks. Never press. The molds will look overfull at first and drain down over the next few hours.
Related calculator
Rennet Calculator
How much rennet do you need for your batch? Calculate liquid, tablet, or powdered rennet for any milk volume.
Draining and molding
With the curd in the molds, gravity replaces the press. Whey drains under the weight of the curd alone, and flipping keeps both faces even so the finished wheels are flat rather than domed.
- 1Let it drain Leave the filled molds to drain at room temperature (around 20–22°C / 68–72°F). The curd will sink to roughly a third of its starting height over the first several hours.
- 2First flip Once the curd is firm enough to hold together, after about 2–3 hours, carefully invert each mold to flip the cheese. A second mat and tray on top makes the flip cleaner.
- 3Keep flipping Flip again every few hours for the first day, then leave overnight. Total draining and molding time is 12–24 hours.
- 4Unmold When the cheese holds its shape and has stopped shedding whey, gently push it out of the mold. The surface should feel firm, smooth, and slightly acidic-smelling.
Free Cheese Rennet Reference Card (printable PDF)
A printable PDF companion for the cheese calculators and guides.
Salting and brining
Salt does three jobs here: it seasons the paste, it draws out the last of the whey, and it sets the surface conditions the white mold needs to bloom. Camembert is salted lightly, because too much salt slows or stops Penicillium camemberti.
You have two options. Dry-salting is simplest for small wheels: sprinkle non-iodized cheese salt evenly over all surfaces, roughly 3/4 teaspoon per small wheel split across the top, bottom, and sides, then let it dissolve and absorb for a few hours. Brining is more even for larger batches: float the wheels in a saturated salt brine for a short soak, usually 20–30 minutes per side for a small wheel, then drain.
If you brine, mixing the solution to the right strength matters more than the exact time. Use the fermentation brine calculator to hit a consistent salt concentration so every batch salts the same way. After salting, pat the wheels dry and let them air-dry on a mat for a day or two at cool room temperature until the surface is tacky rather than wet, which is the signal the rind is ready to be moved to the ripening box.
Watch for
- Iodized table salt inhibits the surface molds. Always use non-iodized cheese salt or pure sea salt.
- Heavy salting is the most common reason a rind never blooms. Err on the light side.
- Salting a wet surface traps whey against the rind. Let the wheels firm up before you salt.
The aging and ripening timeline
This is where Camembert becomes Camembert. Move the dried wheels into a ripening box (a lidded container with a mat, which traps humidity) and hold them cool and damp. The white bloom appears within the first week, then the rind matures the paste from the outside in.
| Stage | Timing | Conditions | What you see |
|---|---|---|---|
| Dry the surface | Day 0–2 | Cool room, open air | Surface turns from wet to tacky |
| First bloom | Day 5–7 | 11–13°C / 52–55°F, 90–95% humidity | Faint white mold patches appear |
| Full coat | Day 10–14 | 11–13°C / 52–55°F, 90–95% humidity | Soft white rind covers the whole wheel |
| Wrap and cold-ripen | Week 3 onward | 4–8°C / 39–46°F, wrapped | Paste softens inward from the rind |
| Ready to eat | Week 3–5 | Refrigerated | Wheel yields at the center; creamy throughout |
- 1Ripen cool and humid Keep the box at 11–13°C (52–55°F) and 90–95% humidity for the bloom phase. A wine fridge or a cool cellar works well. Prop the lid slightly if condensation pools.
- 2Flip daily Turn each wheel once a day so both faces bloom evenly and no side sits wet against the mat. Wipe excess moisture from the box as needed.
- 3Let the rind fill in By day 10–14 the entire surface should carry a soft, even white coat. If bloom is patchy, raise the humidity slightly and keep turning.
- 4Wrap once fully bloomed When the rind is complete, wrap each wheel in cheese paper or waxed paper and move it to normal fridge temperature (4–8°C / 39–46°F). This slows ripening so the inside softens gradually instead of collapsing.
- 5Taste at three weeks Cut one open around week three. A firm chalky core means give it more time; soft and creamy to the center means it is ready. Use that wheel to time the rest of the batch.
Troubleshooting common problems
Watch for
- No white bloom Humidity too low, box too cold, or too much salt. Target 90–95% humidity and 11–13°C (52–55°F), and salt lightly next time.
- Ammonia smell The cheese is over-ripe. Once the rind is fully white, move wheels to colder storage (4–8°C / 39–46°F) and eat sooner. A faint ammonia note near the rind is normal in a ripe wheel.
- Bitter paste Usually too much rennet or no Geotrichum candidum. Reduce the rennet dose slightly and add Geotrichum to the milk next batch.
- Slimy or off-colored rind Unwanted yeast or bacteria, often from a too-wet box or contaminated equipment. Sanitize everything, wipe condensation, and increase airflow slightly.
- Chalky core that never softens Ripened too cold or too briefly, or the wheel is too thick. Hold the bloom phase warmer, give it more time, or make thinner wheels.
- Runny and collapsing Over-ripe from too-warm storage after blooming. Wrap and refrigerate promptly once the rind is complete.
Keep exploring cheese
For the universal rennet-cheese steps behind every style, start with how to make cheese at home, then the soft cheese making guide for gentle-curd handling. To understand the starter and mold choices in depth, read the guide to cheese cultures. Before your next batch, size the milk with the milk to cheese calculator and dial in the rennet calculator for a clean set.