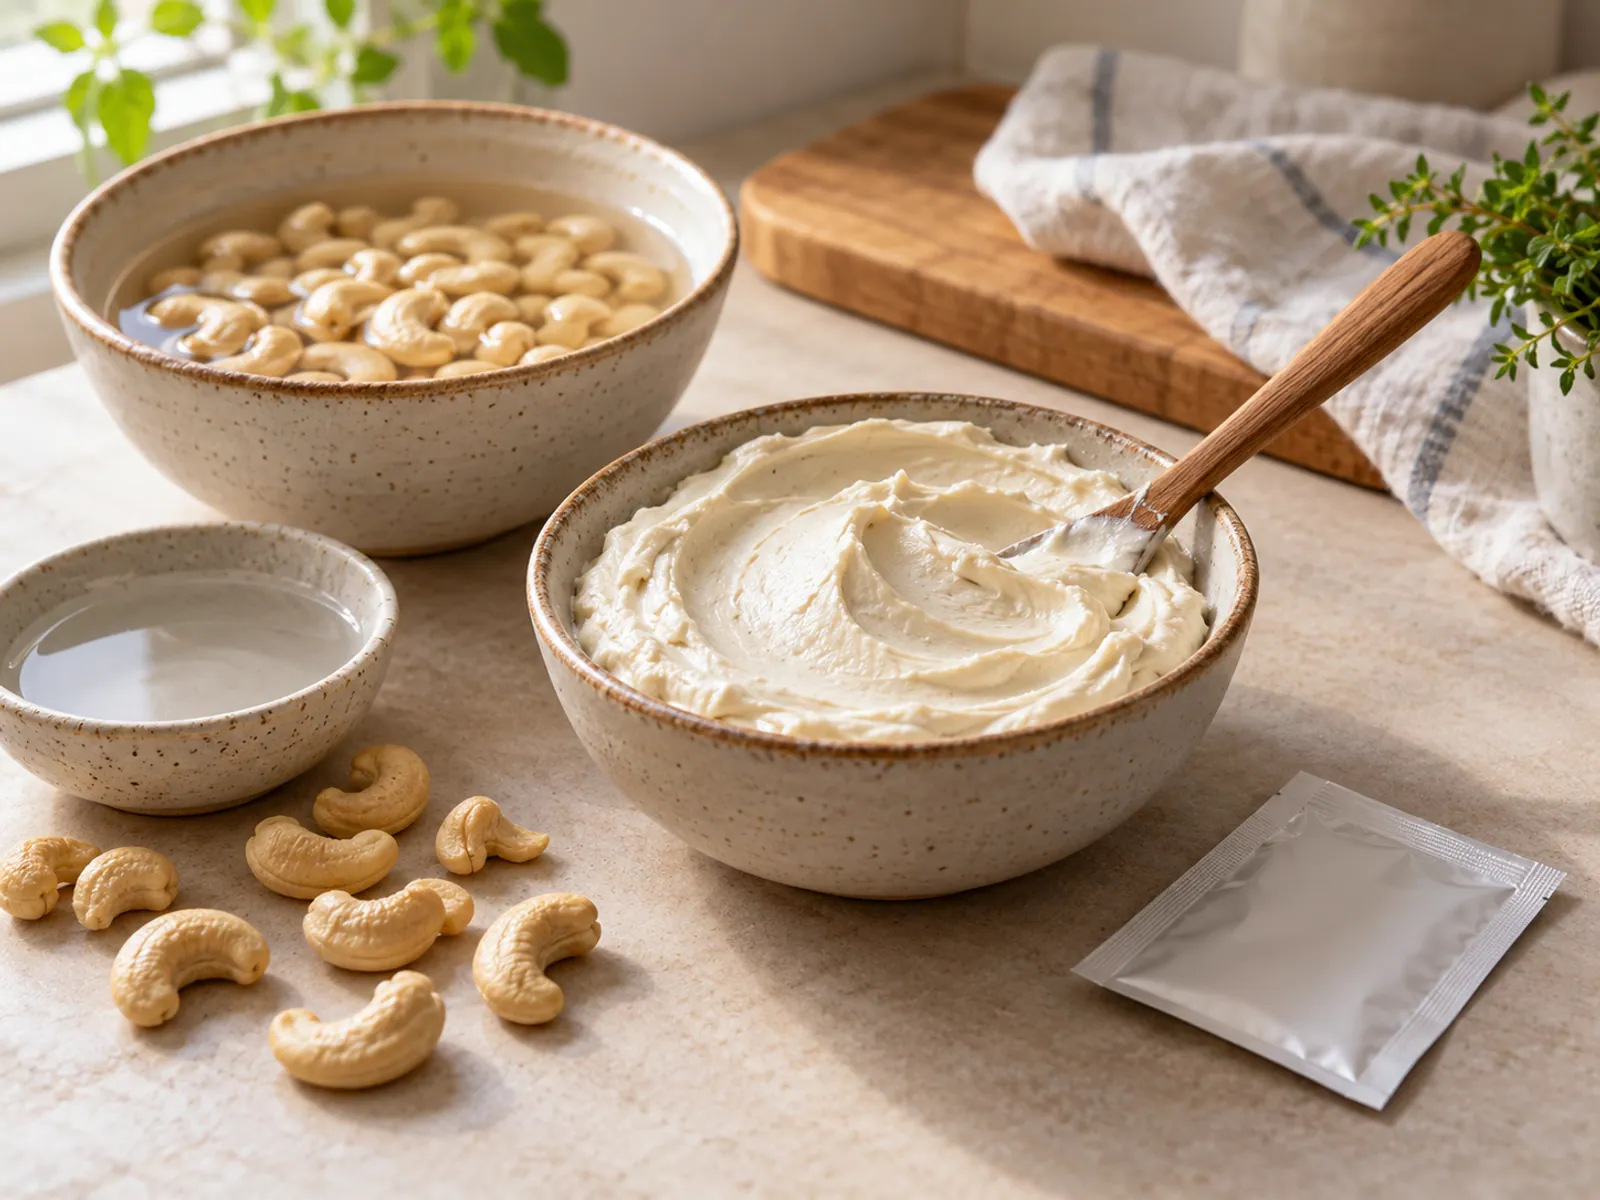
Cultured vegan cream cheese is a plant base, usually cashews or tofu, blended smooth and then fermented with live bacteria until it turns tangy and spreadable. The fermentation is the whole point: it is what separates a genuine cultured cheese from a bowl of seasoned nut paste, and it gives you the same lactic sourness and clingy texture that lactic acid builds in dairy cream cheese. This guide walks through choosing a base, culturing it properly, and flavouring and storing the result.
Is vegan cream cheese really fermented?
Most cream cheese you buy in a tub, dairy or vegan, is not fermented at all. It is emulsified oil, starch, and stabilisers seasoned to taste like the real thing. What you make at home here is different: it is a live-cultured product, closer to how traditional dairy cream cheese is made.
The mechanism is the same one behind dairy-free yogurt and behind the culture-set fresh cheeses in the wider fresh cheese guide. You add lactic acid bacteria to a blended base and keep it warm. The bacteria feed on the natural sugars in the cashews or tofu and release lactic acid. That acid drops the pH, which thickens the paste, sharpens the flavour into a clean sour tang, and lightly preserves it. No culture, no fermentation, no real cream cheese.
Cashew or tofu: choosing a base
Cashews make the richest, most convincingly creamy vegan cream cheese and are the classic choice. Tofu is the reliable nut-free alternative: leaner and tangier, cheaper, and faster because it skips the soak. Both culture the same way once blended.
| Base | Texture | Prep | Notes |
|---|---|---|---|
| Raw cashews | Richest, creamiest, closest to dairy | Soak 4-8 hours | The default. Neutral flavour lets the culture shine. |
| Silken tofu | Very smooth, soft, lightest | Drain only | Blends effortlessly; add a little oil for richness. |
| Firm tofu | Denser, more spreadable | Drain and press briefly | Nut-free and high protein; slightly beanier taste. |
| Blanched almonds | Creamy, mild | Soak 8-12 hours | Skins removed or the result is speckled and gritty. |
| Sunflower seeds | Good, faintly green tinge | Soak 4-6 hours | Cheapest nut-free option; can develop a green hue with baking soda. |
For most people cashews are the place to start. If you are cooking nut-free or want a quicker batch, reach for tofu. The rest of this guide uses cashews as the working example, with tofu notes where the steps differ.
Soaking and blending the base
Smooth culturing starts with a smooth base. Under-soaked, under-blended cashews leave a grainy texture that fermentation will not fix, so this stage matters more than it looks.
- 1Soak the cashews Cover raw cashews with cool water and soak 4-8 hours, or overnight in the fridge. In a hurry, cover with just-boiled water and soak 15-30 minutes instead. Skip this step entirely for tofu.
- 2Drain and rinse Tip out the soaking water and rinse the cashews well. Drain firm tofu and press out excess water for 10-15 minutes; silken tofu just needs draining.
- 3Blend to a paste Blend the base with a small splash of your culturing liquid until completely smooth, scraping down the sides. Add liquid a little at a time: you want a thick, spoonable paste, not a pourable cream.
- 4Check the texture Rub a little between two fingers. It should feel silky, with no grit. If it is grainy, keep blending, or add a touch more liquid and try again before you culture it.
Keep added liquid to a minimum. A stiffer paste ferments into a thicker, more spreadable cheese, while a wet blend stays loose. You can always thin the finished cheese later, but you cannot easily thicken it.
Choosing a culture that actually ferments
This is the step people skip, and skipping it is why so many “vegan cream cheese” recipes are really just dips. You need a source of live lactic acid bacteria. Three work well, each with a different trade-off between flavour, convenience, and predictability.
Whichever you choose, the base has to be warm-friendly and clean. Cold bases stall the bacteria, and dirty utensils invite the wrong microbes. If you want to make rejuvelac, sprout and soak your grains a few days before you plan to blend.
Fermentation: temperature and timing
Once the culture is stirred through the smooth base, scoop it into a clean jar or bowl, cover loosely with cloth or a lid set on top (not sealed tight), and leave it somewhere warm. This is where the flavour and structure actually form.
Taste is your real timer, not the clock. Start checking at the low end of the window and stop when it is as tangy as you like: longer fermentation means more sourness and a slightly looser, more developed texture. A warm spot such as an oven with only the light on, or the top of the fridge, keeps the temperature steady. As it cultures you may see a few small bubbles and the surface may firm up slightly, both good signs.
Watch for
- Fuzzy or coloured mould (pink, blue, black, green) means discard the whole batch, do not scrape and save
- A putrid or rotten smell, rather than a clean sour one, means spoilage not fermentation
- A slimy or stringy texture points to contamination; start over with clean tools
- No tang after 24 hours usually means a cold room or a dead culture, not a finished cheese
When it tastes right, move it to the fridge. The cold slows the bacteria to a crawl and sets the texture firmer over the next few hours.
Free Cheese Rennet Reference Card (printable PDF)
A printable PDF companion for the cheese calculators and guides.
Salting and flavouring
Season only after fermentation, not before. Salt slows the culture, so a heavily salted base ferments sluggishly. Once the cheese is pleasantly tangy, stir in your seasonings and let it rest an hour in the fridge for the flavours to marry.
Texture is adjustable at this stage too. If the cheese is firmer than you want, beat in a teaspoon of water or plant milk at a time until it is spreadable. If it is too loose, a short spell in cheesecloth to drain will tighten it up.
Storage and shelf life
Homemade cultured vegan cream cheese keeps about 5 to 7 days in an airtight container in the fridge, in line with other fresh cultured products. Because it is alive, it keeps getting tangier as it sits, so a batch that tastes mild on day one will be noticeably sharper by day five.
For longer storage, freeze it in an airtight container for up to two months. Freezing pauses the culture and preserves it well, but ice crystals coarsen the texture, so thawed cheese is best stirred hard and used in baking, sauces, or cooking rather than spread fresh. Always serve with a clean spoon: double-dipping is the fastest way to introduce spoilage organisms and cut the shelf life short.
Troubleshooting a batch
Most failed batches come down to one of a handful of fixable causes. Match your result to the row below before you give up on it.
If you want the dairy version for comparison, or need a stand-in while a batch cultures, see homemade cream cheese and the roundup of cream cheese substitutes. The techniques rhyme, and understanding the dairy process makes the plant-based one click into place.