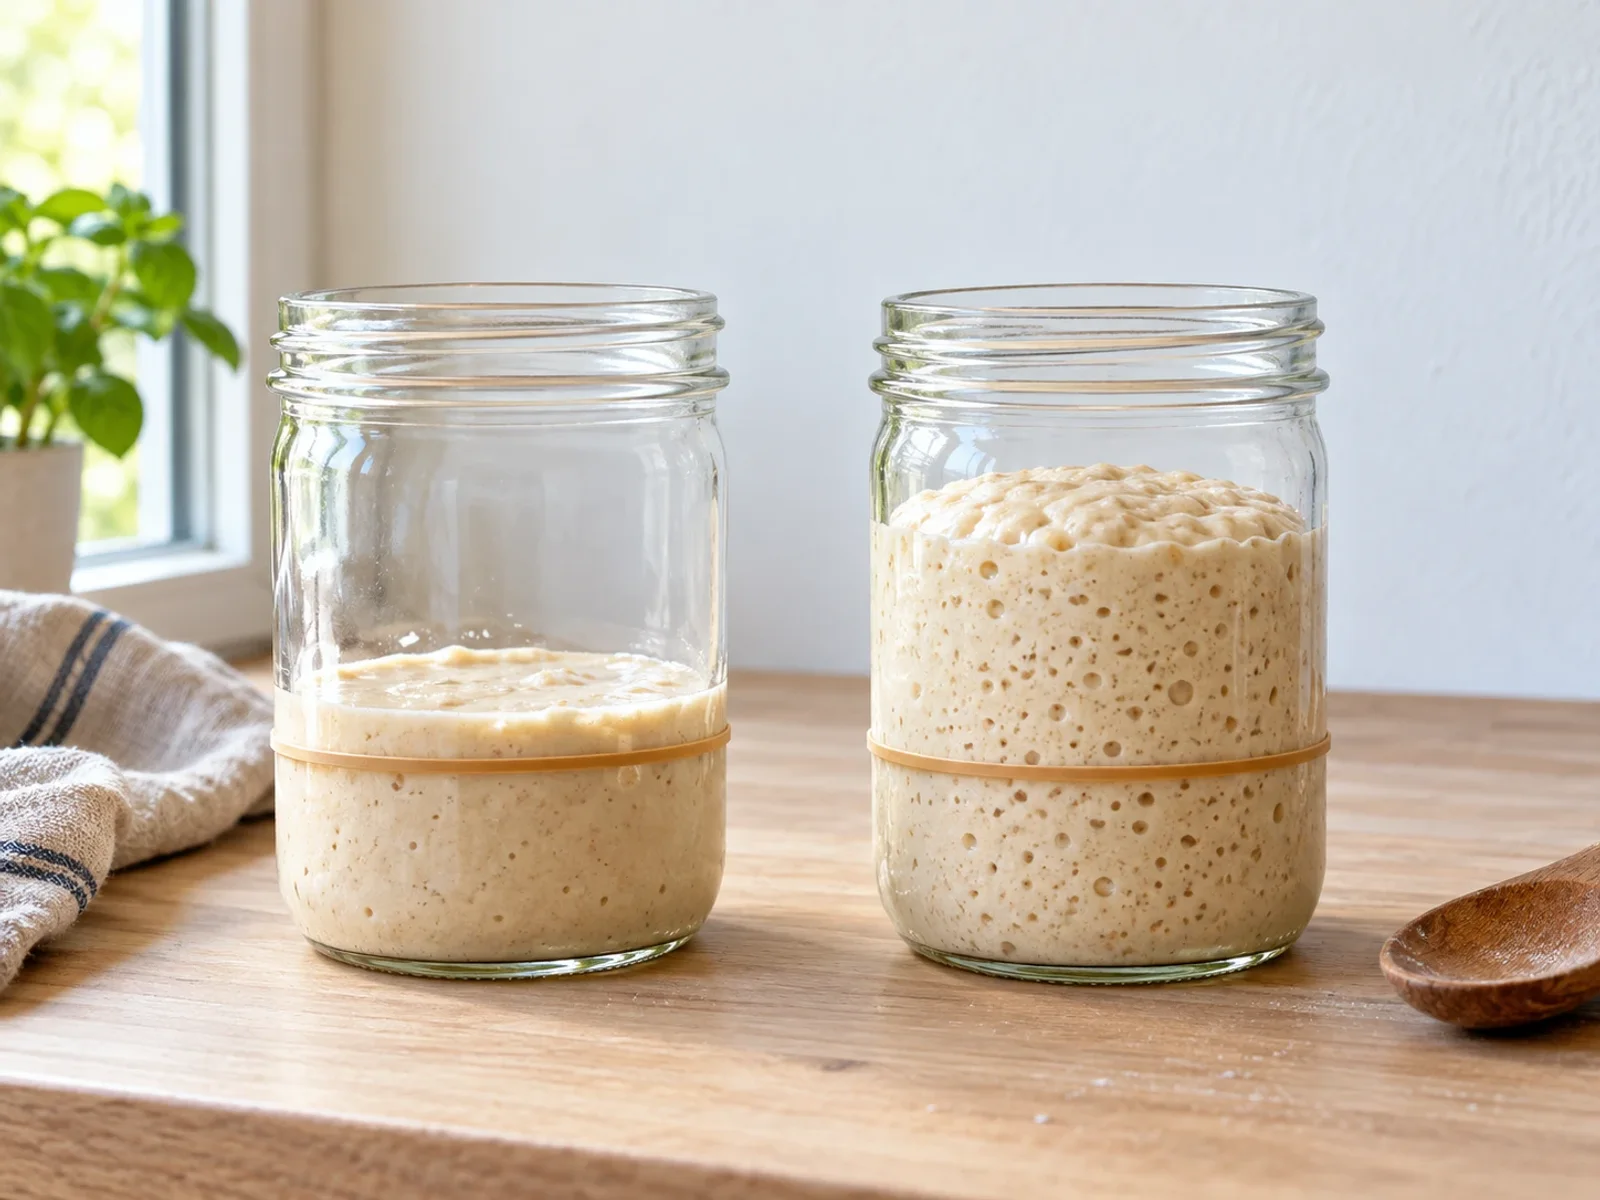
Sourdough Starter Manager
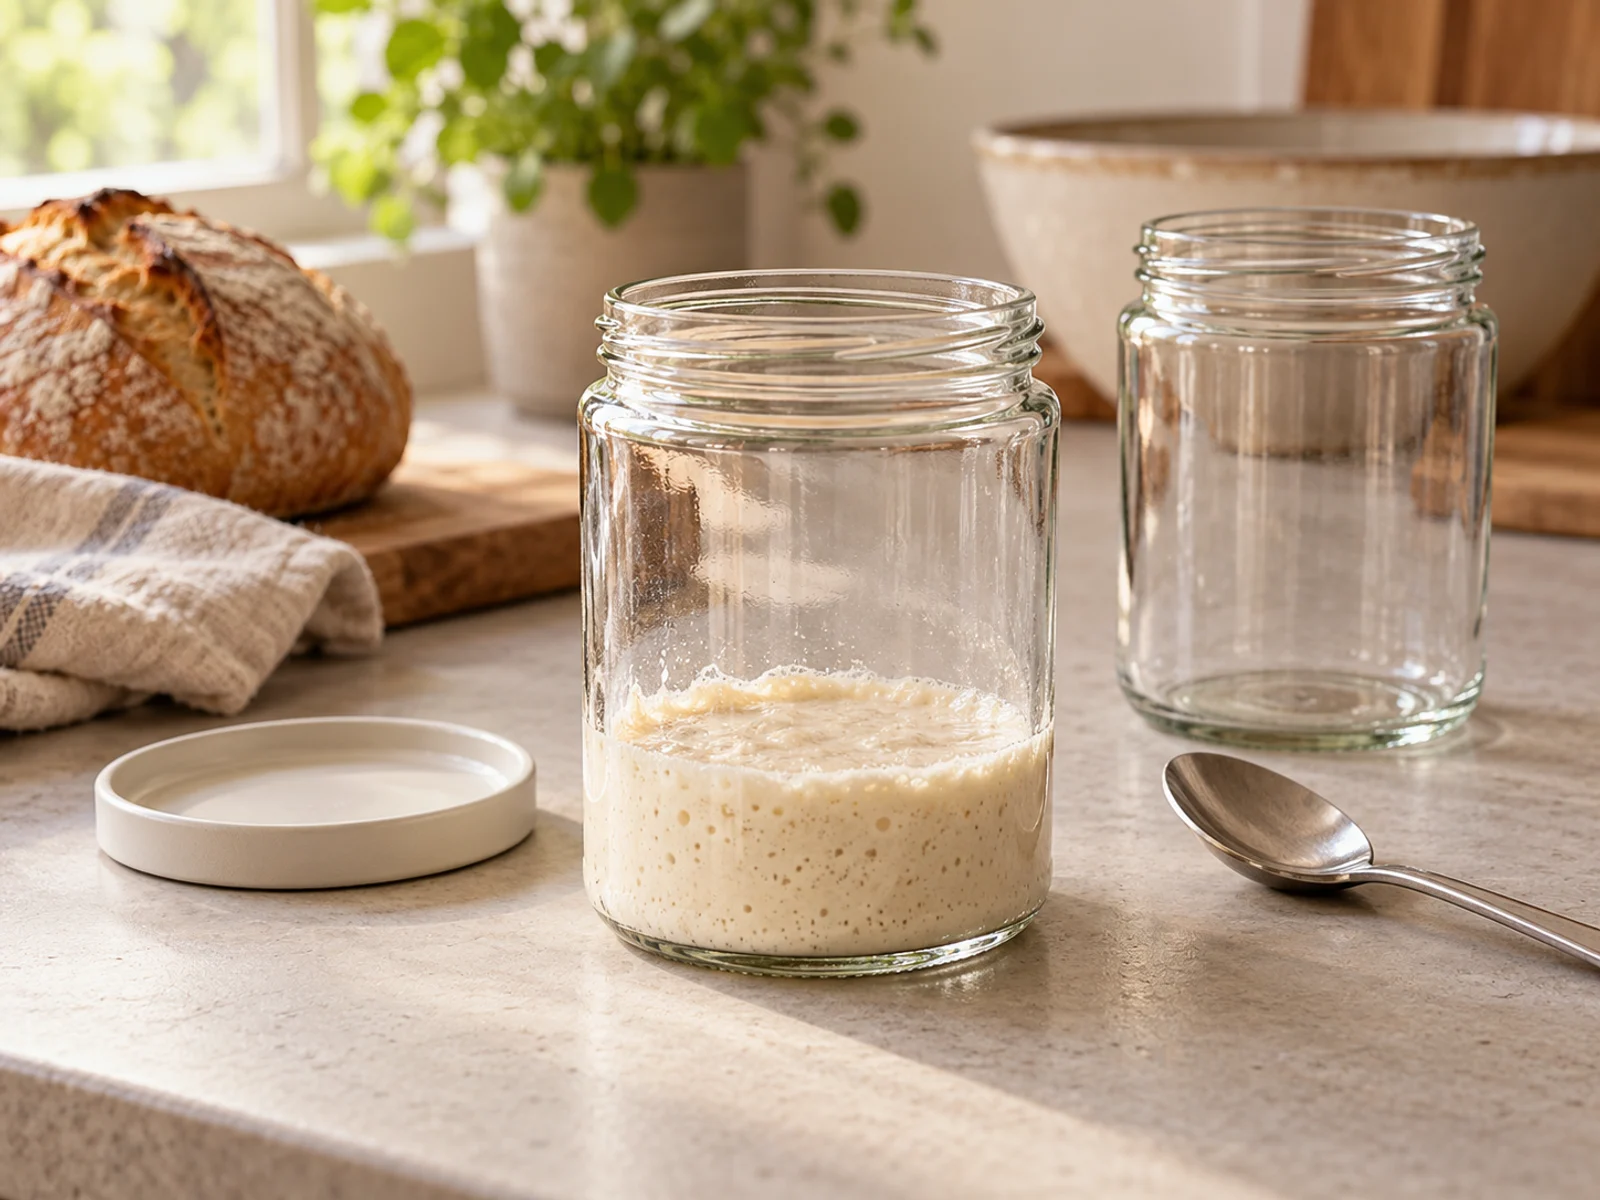
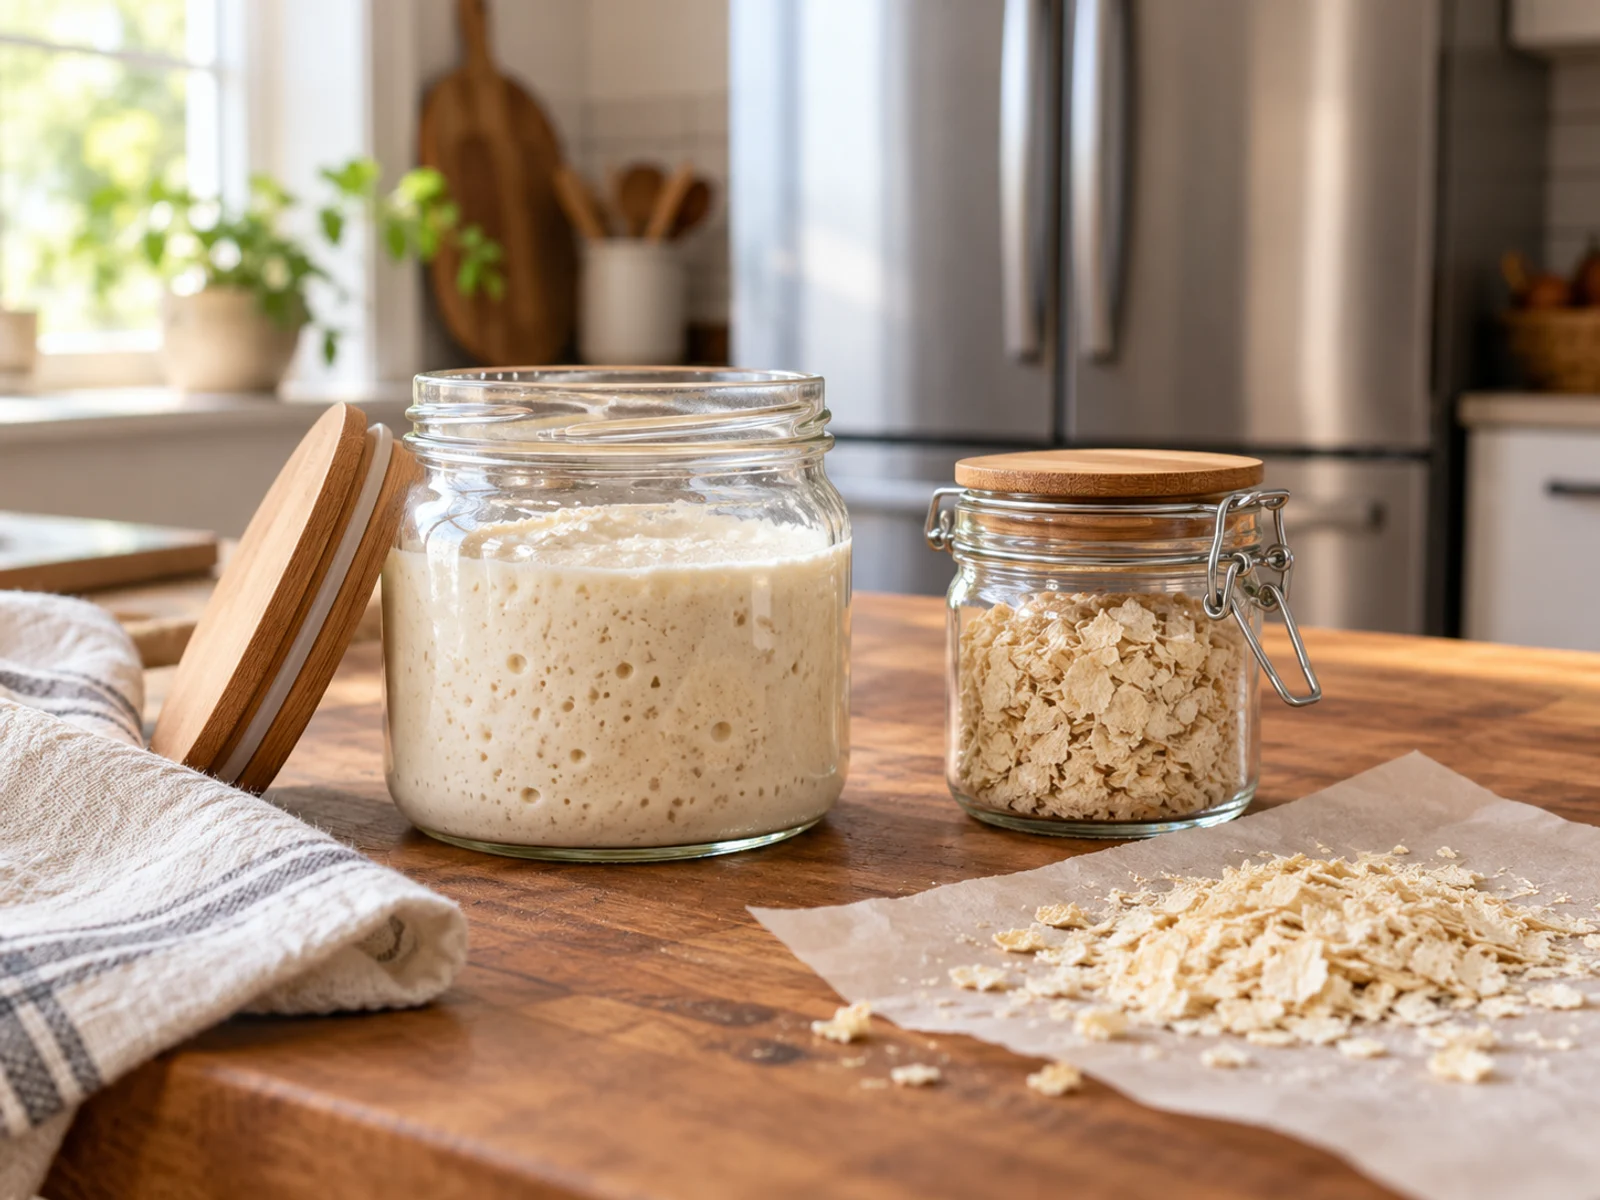
Log each feed, watch your starter rise in a 3D jar and record when it peaks. After two feeds it learns your own starter’s timing, so you know when it will be ready.
- See the rise against the clock
- Learns your starter’s peak time
- Free, no account needed
Boules and bâtards get all the attention, but sandwich loaves and rolls are what most of us actually eat every day. They’re also more forgiving — a loaf pan or a sheet of buns hides a lot of imperfection. The one skill that carries all of them is building surface tension, and it’s easier than it looks.
Why tension matters
Every well-risen loaf or roll has a taut, smooth outer skin. That tension is what holds the dough’s shape and traps the gas so it rises up rather than spreading out. Loose, slack shaping gives a flat, wide loaf; a tight, well-tensioned shape gives height and a fine, even crumb. Almost every shaping technique is really just a different way of stretching that skin tight and sealing it.
Pre-shape, rest, final-shape
Every shape follows the same rhythm. Don’t skip the middle step.
- 1Divide Turn out the bulk-fermented dough and divide it — the whole piece for a loaf, or equal weighed portions for rolls.
- 2Pre-shape Shape each piece into a loose round or log with light tension. This organises the dough and gives the final shape something to work with.
- 3Bench rest Cover and rest 20–30 minutes so the gluten relaxes and the dough will stretch without tearing.
- 4Final shape Now shape tightly and definitively into the loaf or roll, building and sealing the taut skin.
Shaping a sandwich loaf
The pan loaf is the easiest shape to get right, because the pan does half the work.
- 1Flatten to a rectangle Gently press the rested dough into a rough rectangle about as wide as your loaf pan is long.
- 2Fold the sides in Fold the left and right thirds into the middle to match the pan's width.
- 3Roll up tight Starting from the short end nearest you, roll the dough into a tight log, pressing to build tension as you go, and seal the final seam.
- 4Pan it seam-down Place the log seam-side down in a greased pan. Proof until it crests just above the rim, then bake.
Related calculator
Baker's Percentage Calculator
Turn your flour weight and ingredient percentages into exact grams for water, salt, starter, fat, and sugar — and scale any recipe.
Rolls & burger buns
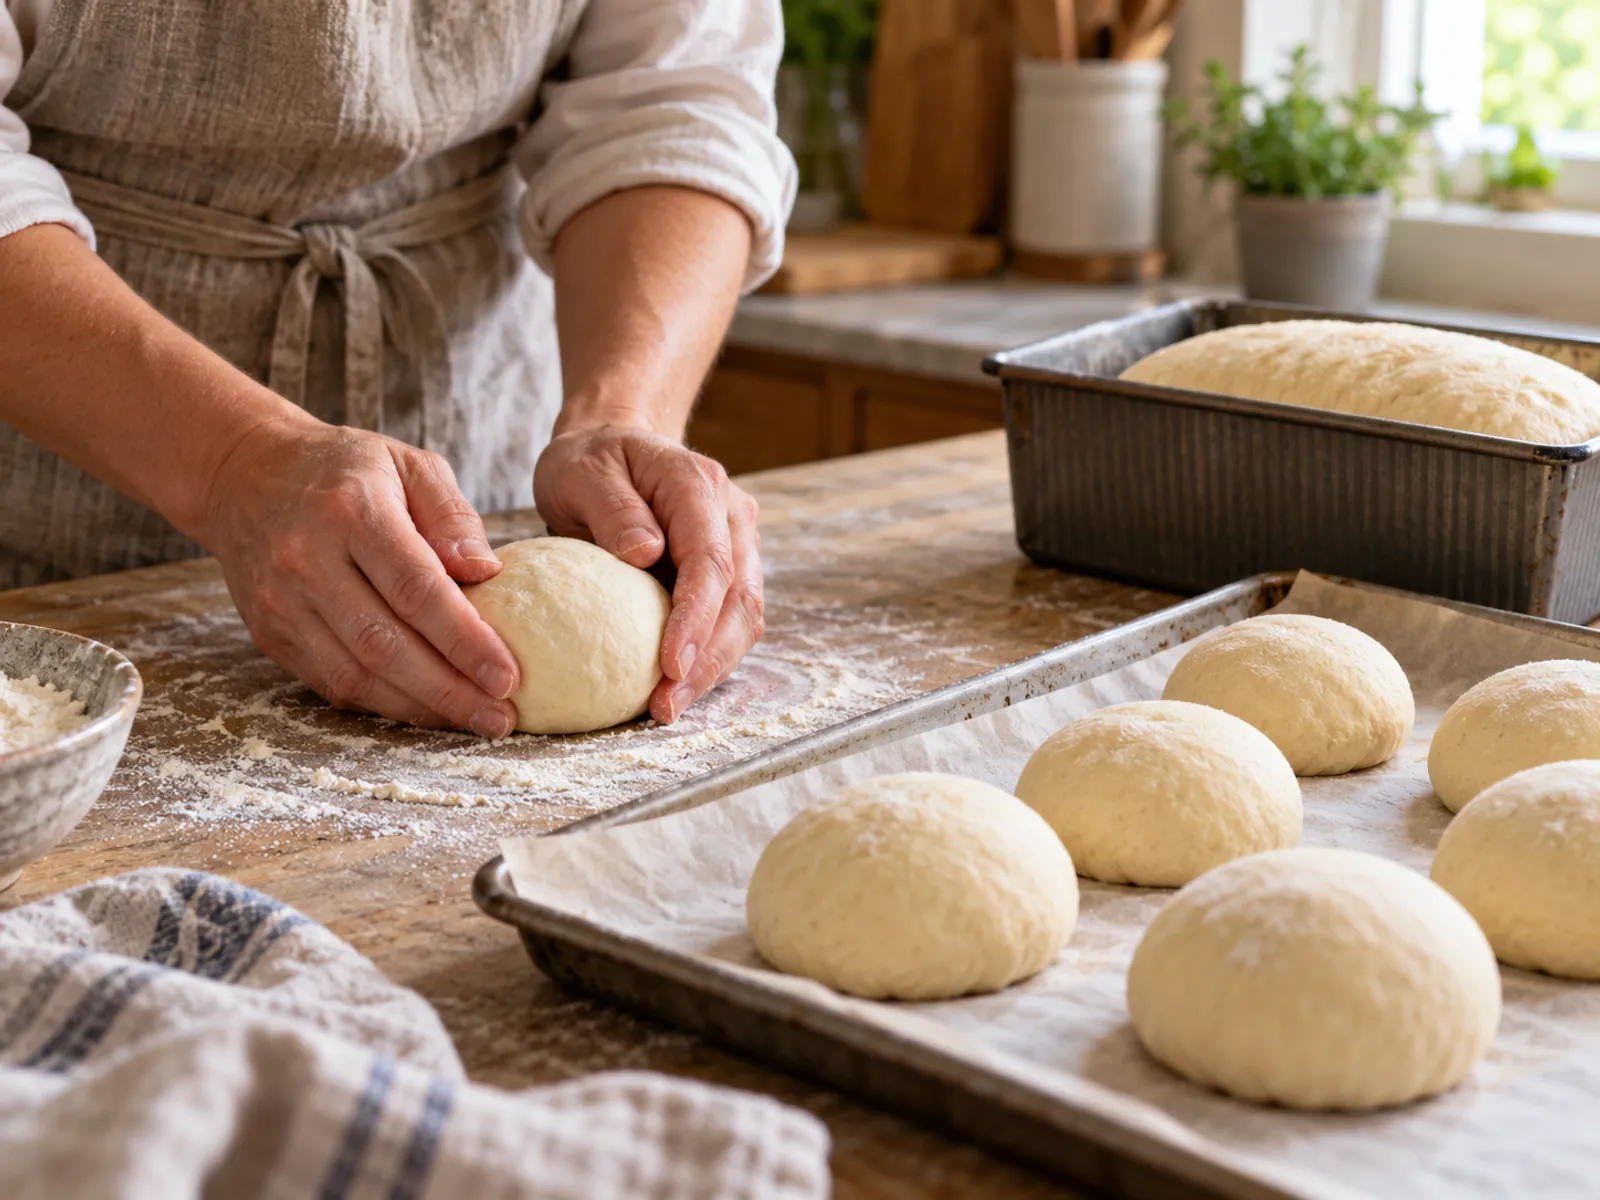
Uniform rolls start with the scale and finish with the cup-and-drag.
Weigh equal portions, pre-shape each into a loose ball, and rest. For the final shape, use the cup-and-drag below. For burger buns, flatten the finished ball slightly so it bakes wide rather than tall; brush with egg wash and add sesame if you like.
Free Sourdough Baking Playbook (printable PDF)
A printable PDF companion for the sourdough calculators and guides.
The cup-and-drag
This is the move that turns a lump of dough into a tight, round roll.
Proofing shaped dough
Watch for
- Flat, spreading loaf → under-tensioned shaping or over-proofed dough
- Roll bursts oddly in the oven → seam not sealed, or under-proofed
- Dough tears while shaping → skipped the bench rest; let it relax longer
- Dense, tight crumb → shaped too tight for an enriched dough, or under-fermented
- Collapsed in the oven → over-proofed; proof to puffy, not doubled
Proof shaped rolls and loaves until puffy and slightly jiggly — pan loaves just above the rim, rolls visibly risen. The poke test (a slow spring-back leaving a faint dent) is your best guide. When in doubt, bake slightly under-proofed rather than over.