Sourdough Starter Manager
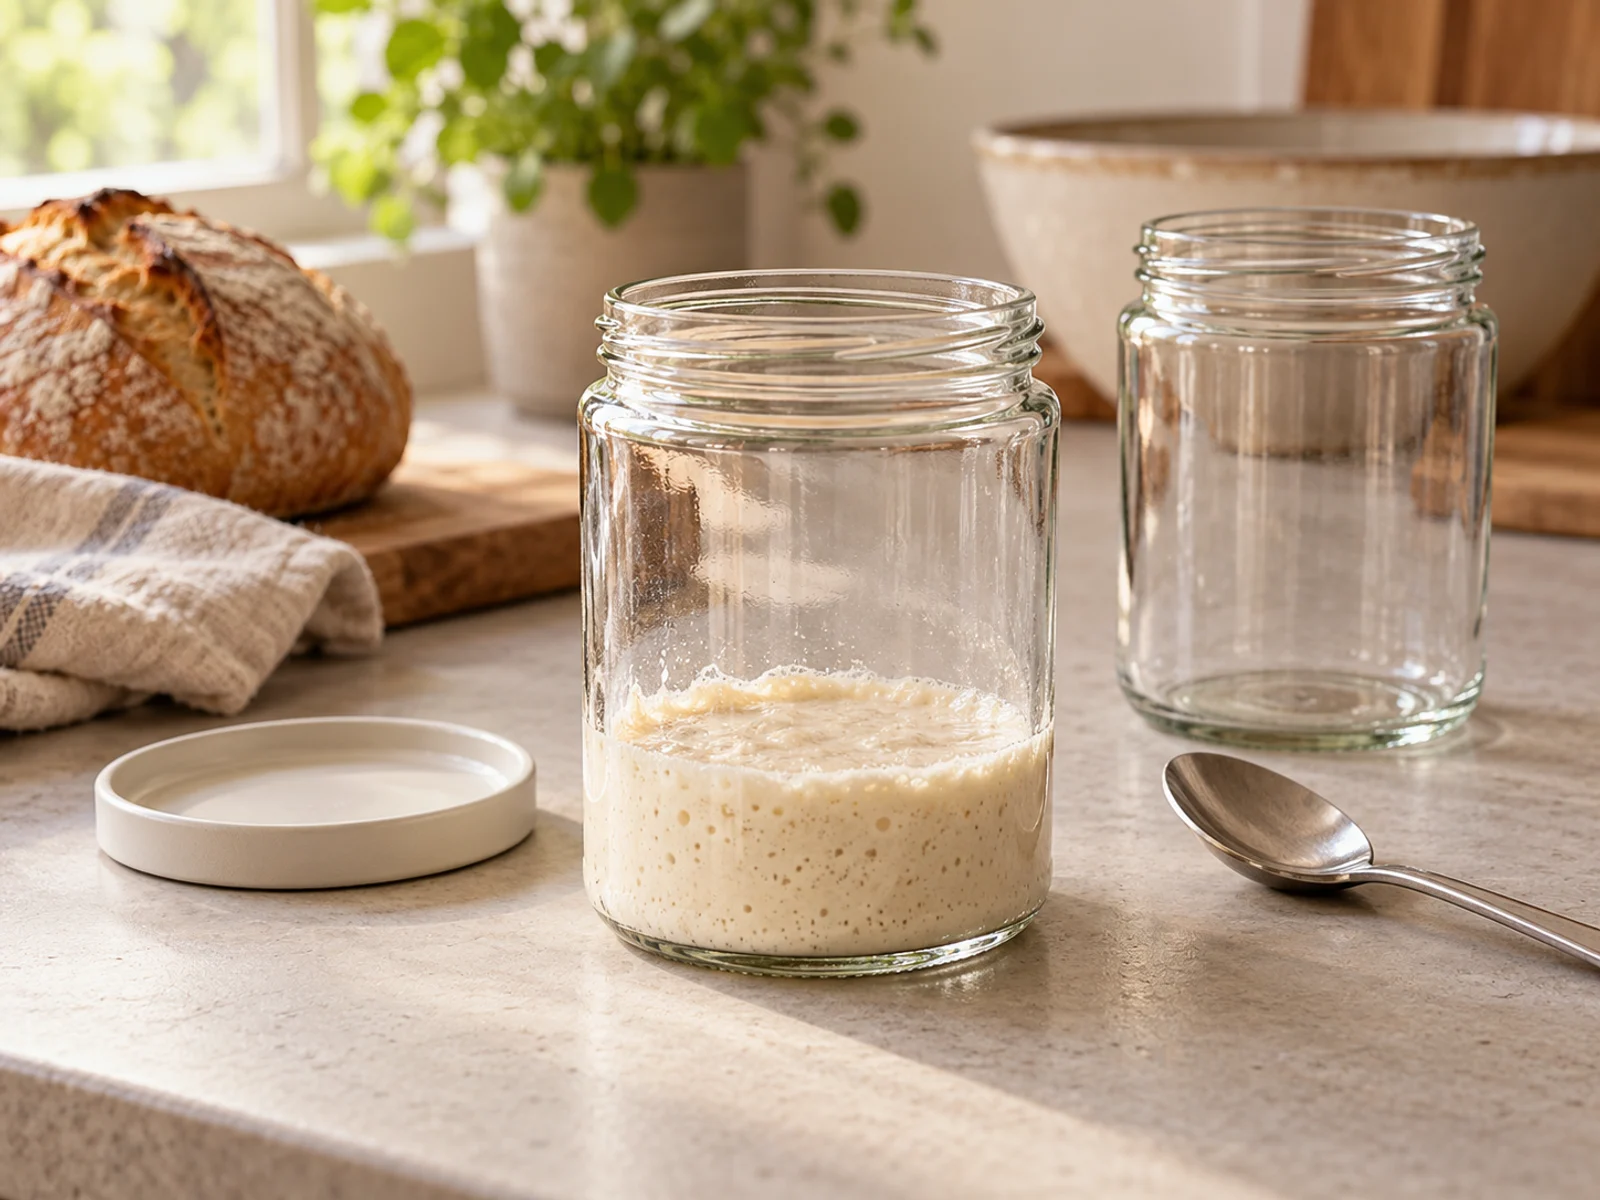
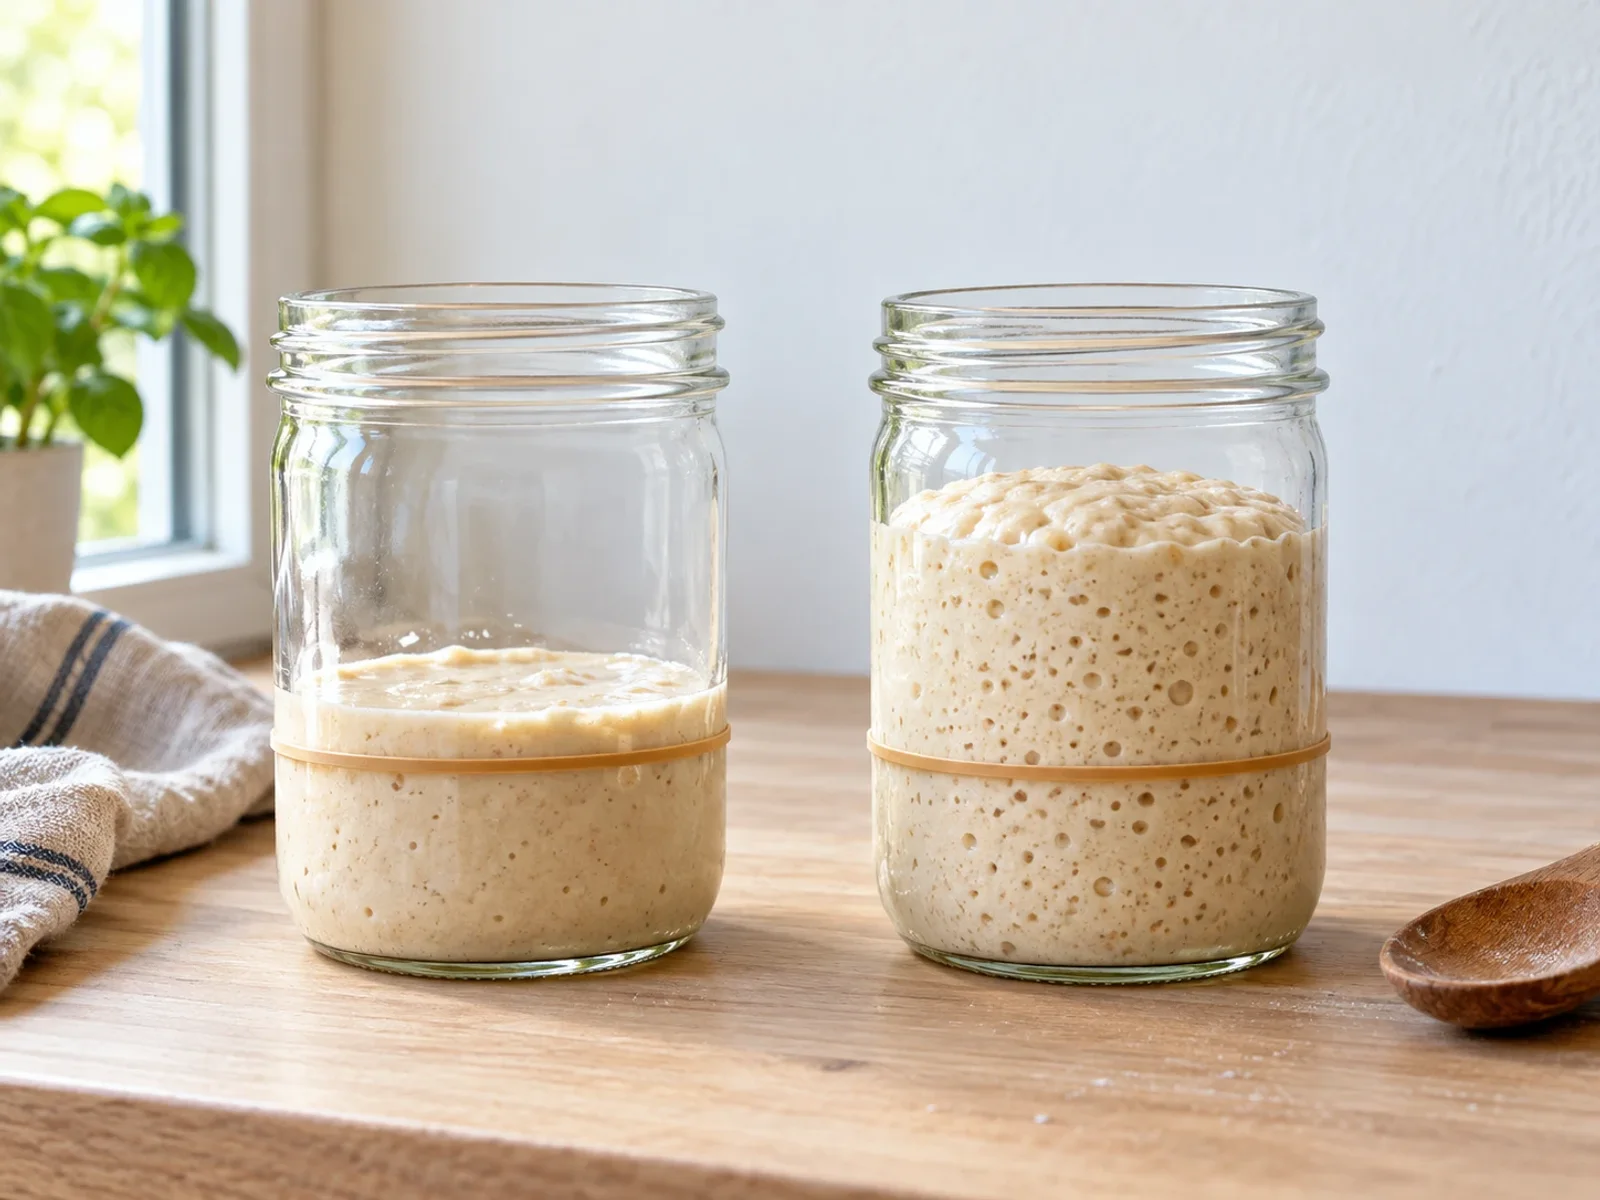
Log each feed, watch your starter rise in a 3D jar and record when it peaks. After two feeds it learns your own starter’s timing, so you know when it will be ready.
- See the rise against the clock
- Learns your starter’s peak time
- Free, no account needed
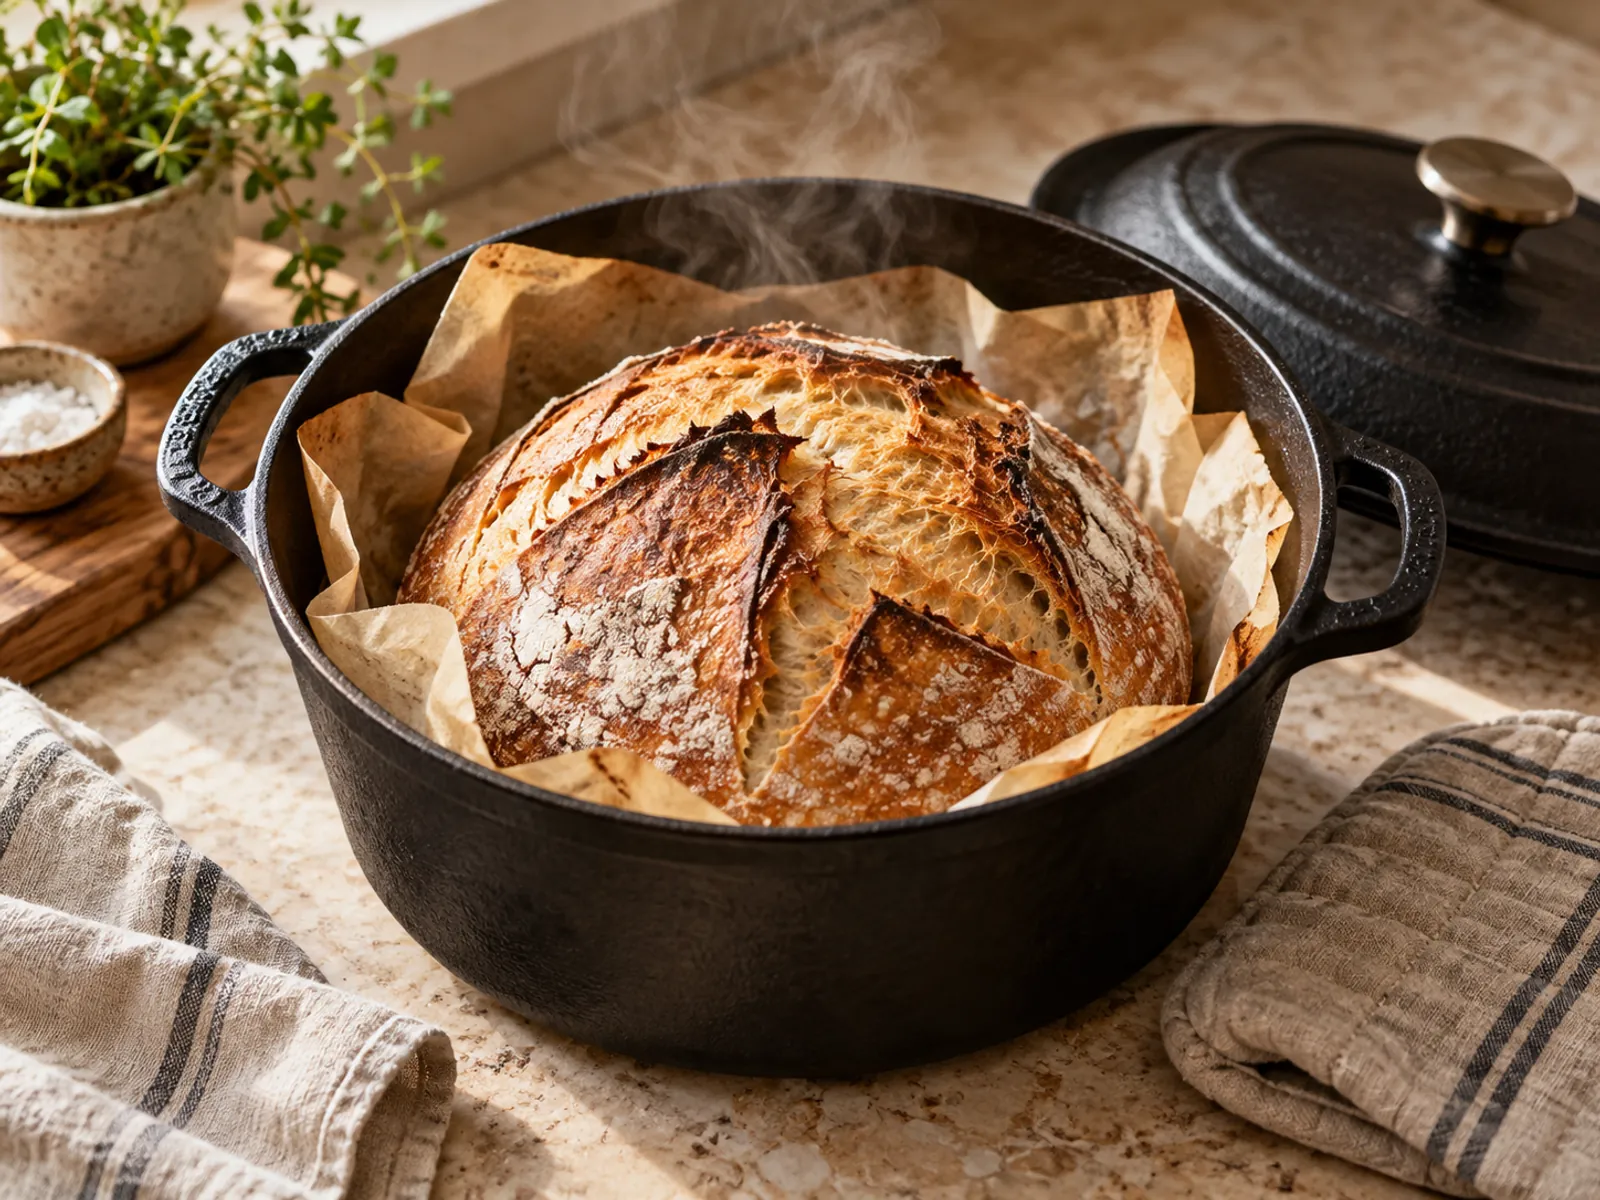
A Dutch oven is the simplest way to get bakery-quality sourdough at home. It turns an ordinary oven into a steam-injected one for free — no water trays, no ice, no fuss — and it’s the single biggest upgrade most home bakers can make to their crust and oven spring.
Why a Dutch oven works
The magic is steam. In the first minutes of baking, a wet dough releases moisture. Inside a sealed, preheated Dutch oven that moisture is trapped as steam, and steam is what makes a great loaf.
Steam keeps the crust soft and flexible for those crucial early minutes, letting the loaf expand fully — that dramatic rise is called oven spring. It also gelatinises the surface starches, which then dry into a thin, glossy, crackly crust. A home oven leaks steam instantly; a Dutch oven holds it right against the loaf.
Preheat the pot — hard
Preheating the empty pot is non-negotiable for the classic result. A hot pot flash-heats the dough surface and drives the spring.
Put the Dutch oven in cold and let it come up with the oven, then hold it at temperature for at least 30 minutes. It should be thoroughly hot — the metal, not just the air around it.
The two phases: lid on, lid off
Every great Dutch oven bake is really two bakes — a steamy one and a dry one.
- 1Score and load Score your cold, proofed dough and lower it into the hot pot (a parchment sling makes this safe and easy).
- 2Lid ON — the steam phase Bake covered for the first ~20 minutes. Trapped steam keeps the crust soft so the loaf springs to its full height.
- 3Lid OFF — the browning phase Remove the lid and bake another 20–25 minutes. The crust now dries, deepens to golden-brown, and crisps up.
- 4Optional temperature drop If you preheated very hot, drop to 220–230°C when the lid comes off to brown evenly without scorching.
The ice-cube myth
A popular tip says to toss ice cubes into the Dutch oven for extra steam. Don’t.
Watch for
- The dough already provides plenty of steam inside the sealed pot — extra water adds nothing
- Ice or water on hot enamelled cast iron can thermal-shock and crack the enamel
- Glass lids are especially prone to shattering from the sudden temperature change
- It adds a fiddly, hazardous step for zero benefit
The closed lid is your steam source. Let the loaf steam itself.
Loading the dough safely
The pot is 250°C and heavy — a moment of planning keeps your knuckles intact and your loaf round.
Free Sourdough Baking Playbook (printable PDF)
A printable PDF companion for the sourdough calculators and guides.
Knowing when it's done
Judge by colour and temperature, not by the timer. The crust should be a deep golden-brown to mahogany — a pale loaf is underbaked and will taste flat. Confirm with an instant-read thermometer: 96–99°C (205–210°F) in the centre. A finished loaf sounds hollow when you tap its base.
Then the hardest step: let it cool completely on a rack, ideally 1–2 hours, before slicing. The crumb is still setting as it cools, and cutting early leaves it gummy.
Troubleshooting
Watch for
- No oven spring → pot not hot enough, or dough over-proofed
- Pale, soft crust → lid left on too long, or oven ran cool
- Burnt base → add a buffer tray below, or drop the temperature after lid-off
- Gummy crumb → underbaked or sliced warm; bake to 96°C+ and cool fully
- Dough sticks to the pot → use parchment; never load a bare, wet dough into dry cast iron
Baking on a stone or steel instead
A Dutch oven surrounds the loaf and traps moisture close to it. A stone or steel supplies heat from underneath but leaves steam management to the oven environment. Steel transfers heat rapidly and can scorch a base if placed too close to an aggressive lower element; stone also needs sufficient preheat to avoid a pale underside.
| Surface | Useful strength | Main adjustment |
|---|---|---|
| Dutch oven | Enclosed steam environment | Check handle limits and safely remove the lid |
| Baking stone | Stable base heat for open baking | Preheat fully; avoid thermal shock |
| Baking steel | Strong bottom heat | Adjust rack and bake to avoid a burnt base |
| Heavy baking sheet | Accessible option for rolls | Expect a different heat response; monitor colour |
Preheat according to the surface manufacturer’s instructions, not merely until the oven’s air thermostat signals ready. If adding steam, use a method approved for the appliance. Never pour water onto hot glass, a stone or the oven floor; avoid spraying heating elements. A suitable covered roasting vessel can be easier to manage than an improvised steam pan.
For a first comparison, keep the dough formula and loaf size constant. Record rack height, preheat and base colour. If the bottom burns before the centre is ready, change heat delivery or rack position rather than shortening the bake until the centre is underdone. Small ciabatta pieces and a large boule will need different timing.