Sourdough Starter Manager
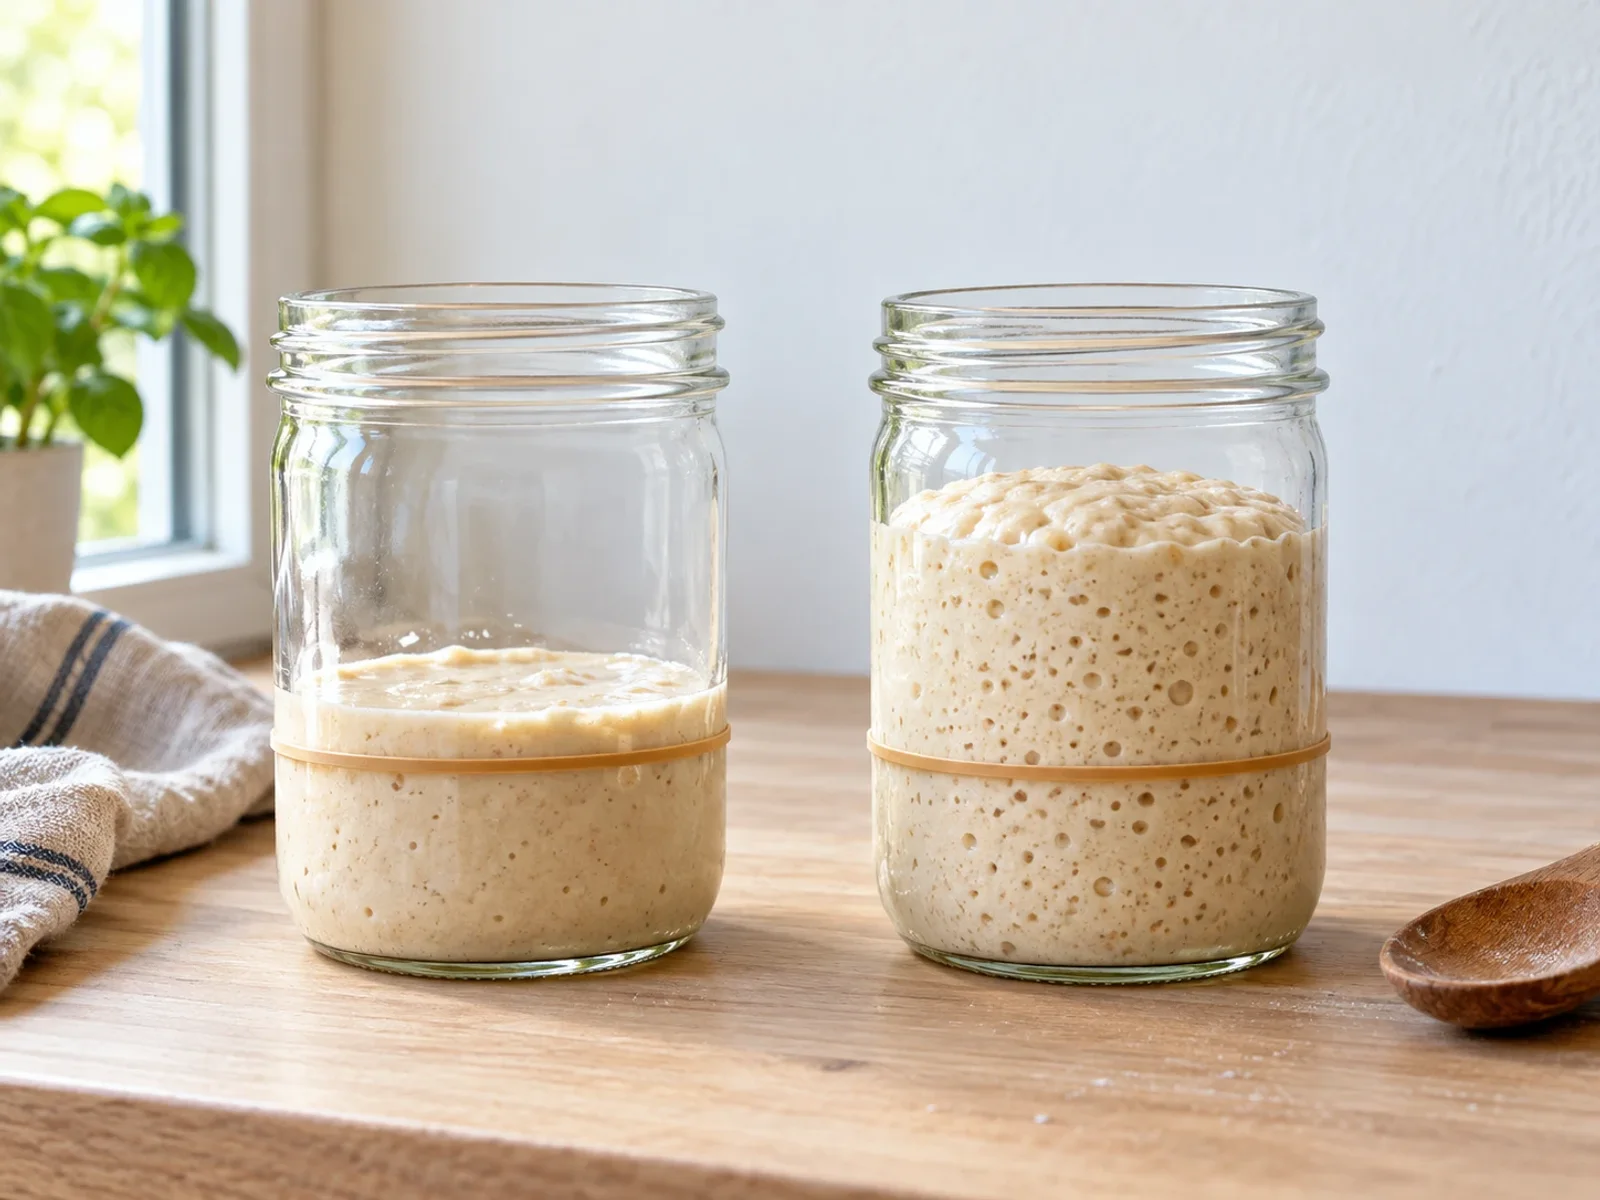
Log each feed, watch your starter rise in a 3D jar and record when it peaks. After two feeds it learns your own starter’s timing, so you know when it will be ready.
- See the rise against the clock
- Learns your starter’s peak time
- Free, no account needed
Formula and equipment
This is a lean, naturally leavened home-batch formula. It is not the milk-and-yeast sandwich-roll variation. Use a digital scale, a dough tub, scraper, baking sheet or suitable stone, parchment rated for your oven setting, and an oven thermometer if available.
| Ingredient to add | Weight | How it counts |
|---|---|---|
| Strong white bread flour | 500g | Plus 50g flour in starter |
| Water | 400g | Plus 50g water in starter |
| Ripe starter at 100% hydration | 100g | 50g flour and 50g water |
| Salt | 11g | 2% of total flour |
| Total dough | 1,011g | Six pieces around 168g before baking |
Total flour is 550g and total water 450g, giving 81.8% hydration. If your flour cannot support that much water, begin with 370g added water (76.4% overall) and hold the remaining 30g back. A slightly less open but manageable loaf is preferable to an unworkable puddle.
Mix for cohesion before adding all the water
Mix the flour with 370g water until the flour is hydrated. Rest briefly, then incorporate the ripe starter and salt completely. Add the reserved water gradually only if the dough can absorb it while remaining cohesive. The target is extensible dough with structure, not a flowing batter.
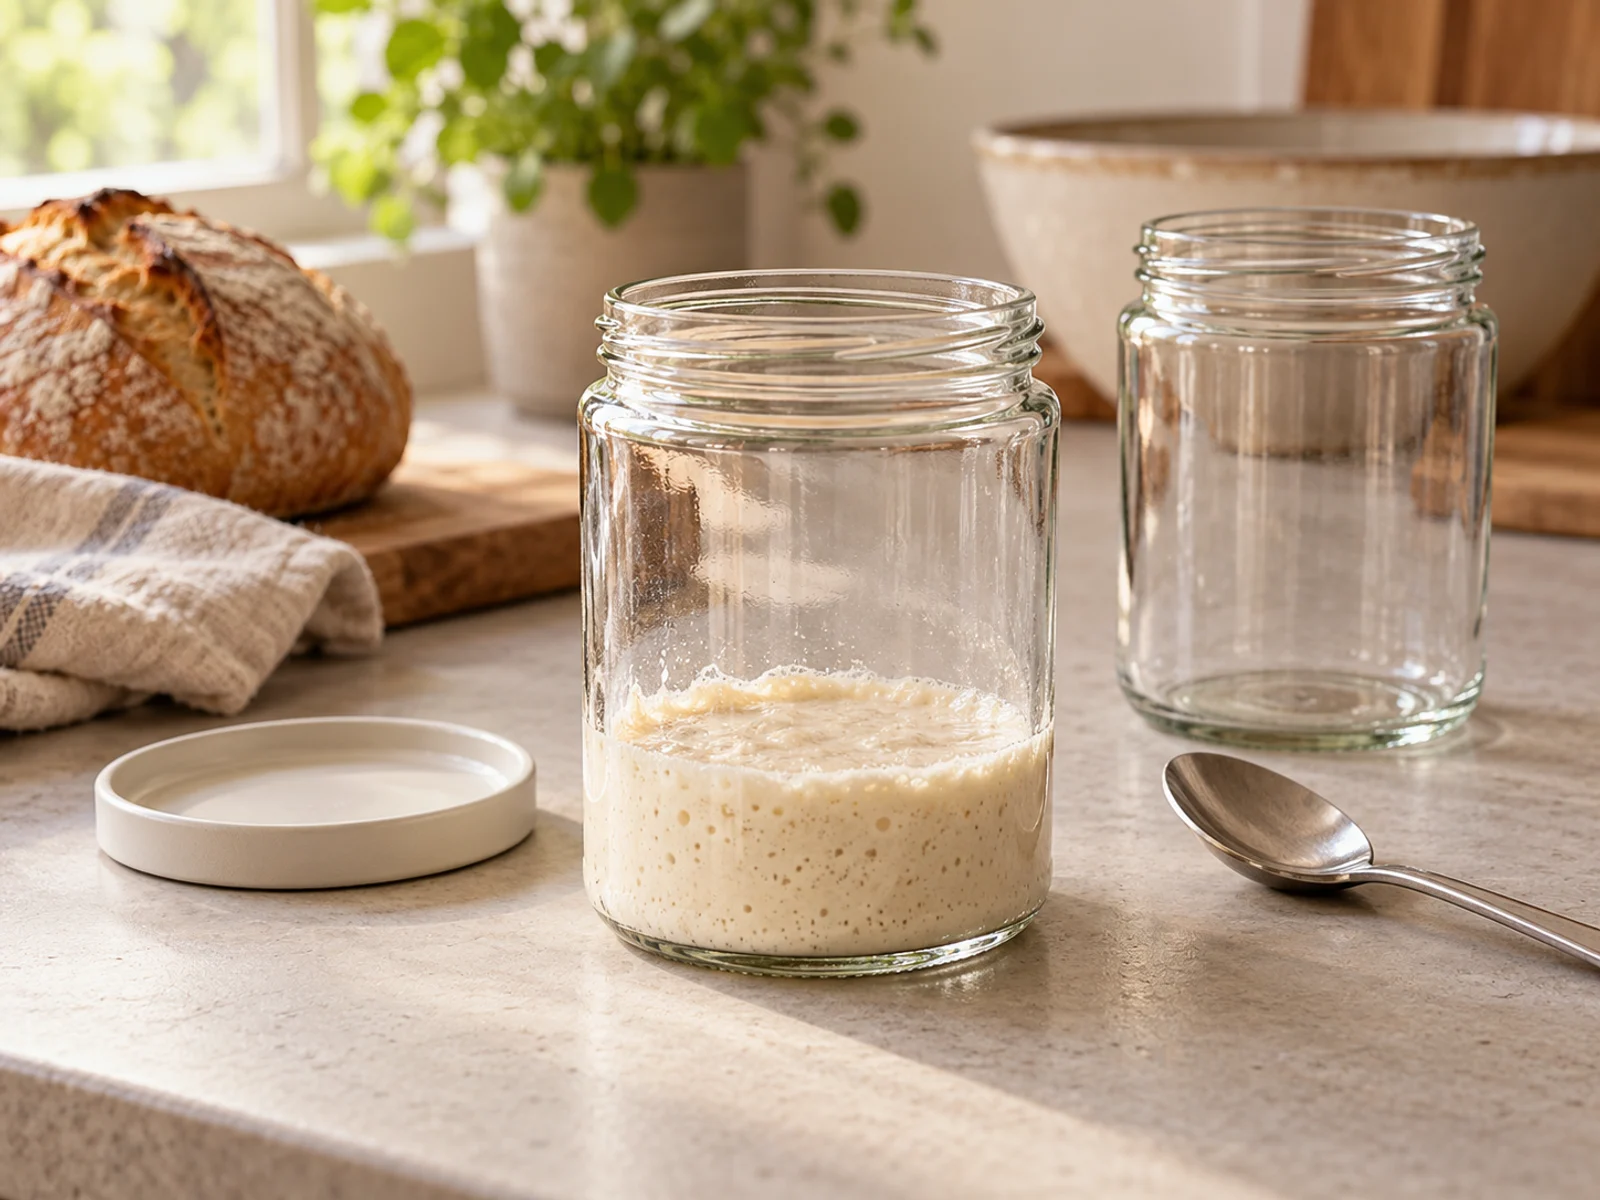
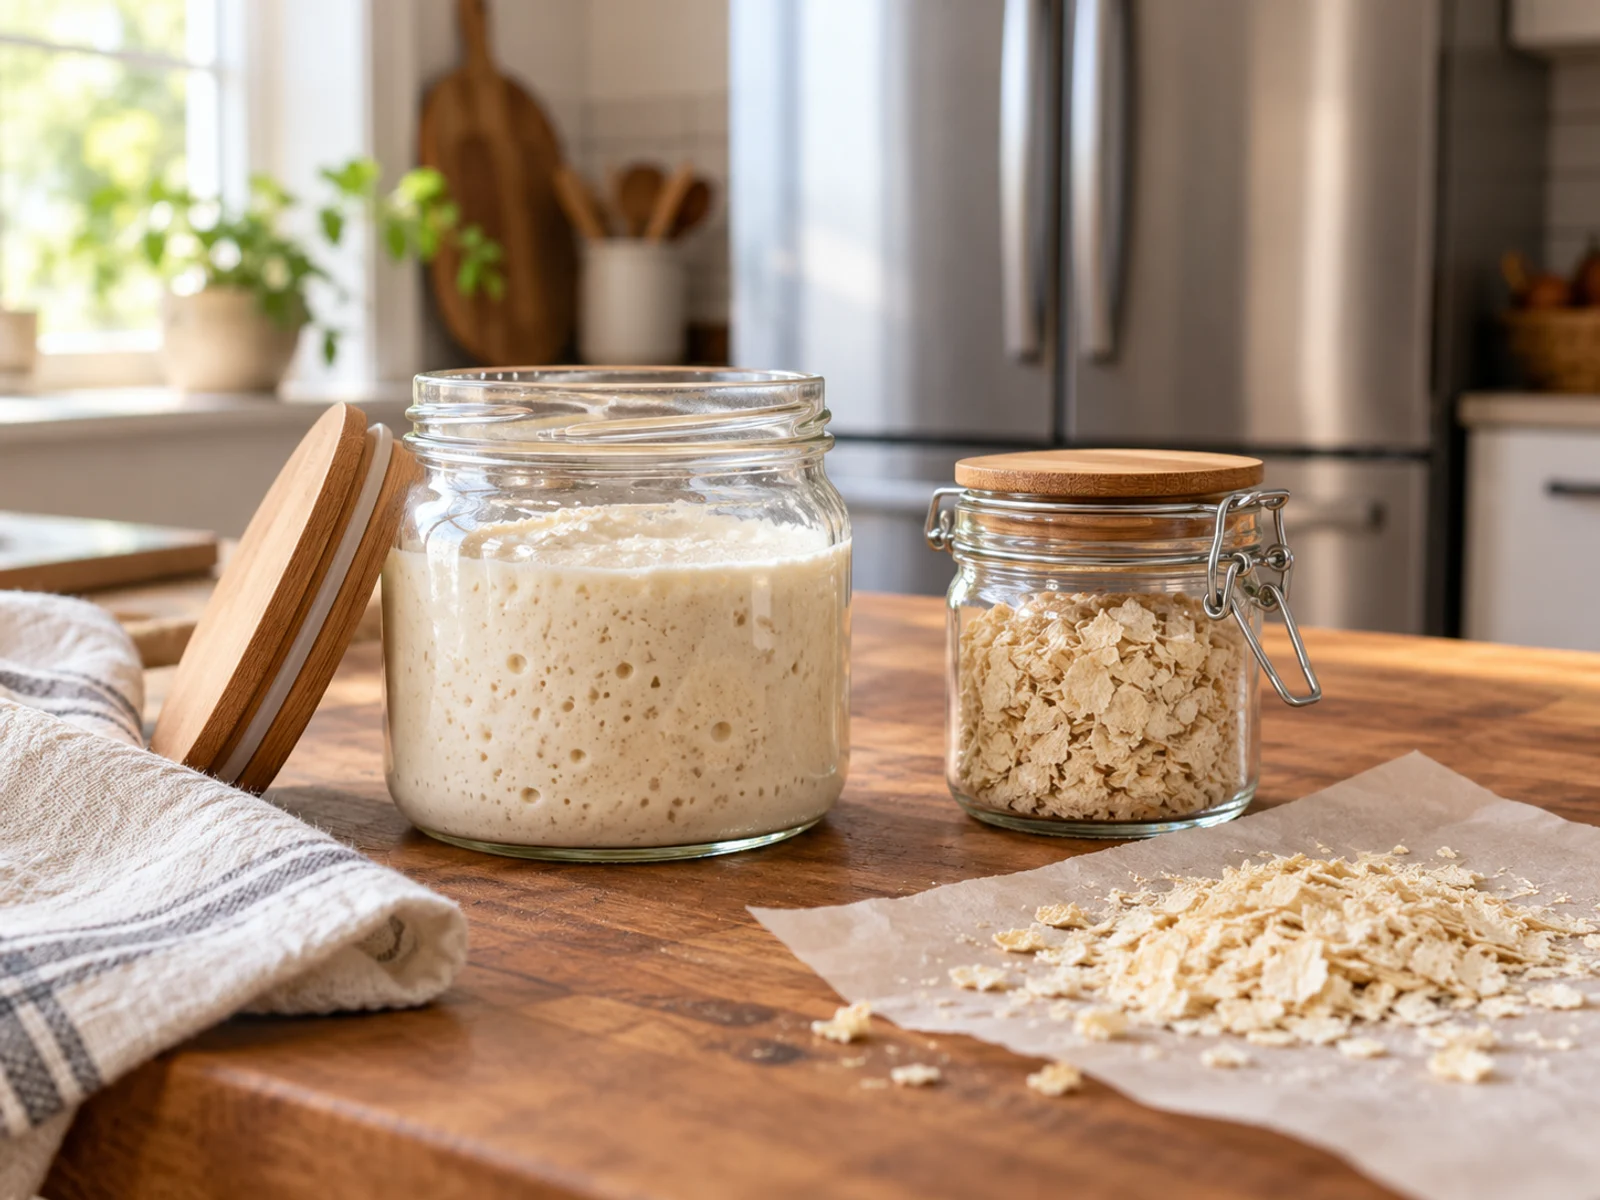
Use an active starter that has shown a reliable recent rise, not merely an old jar with some bubbles. If your starter is stiff, recalculate its flour and water contribution before using this formula. The hydration calculator helps keep the actual water ratio clear.
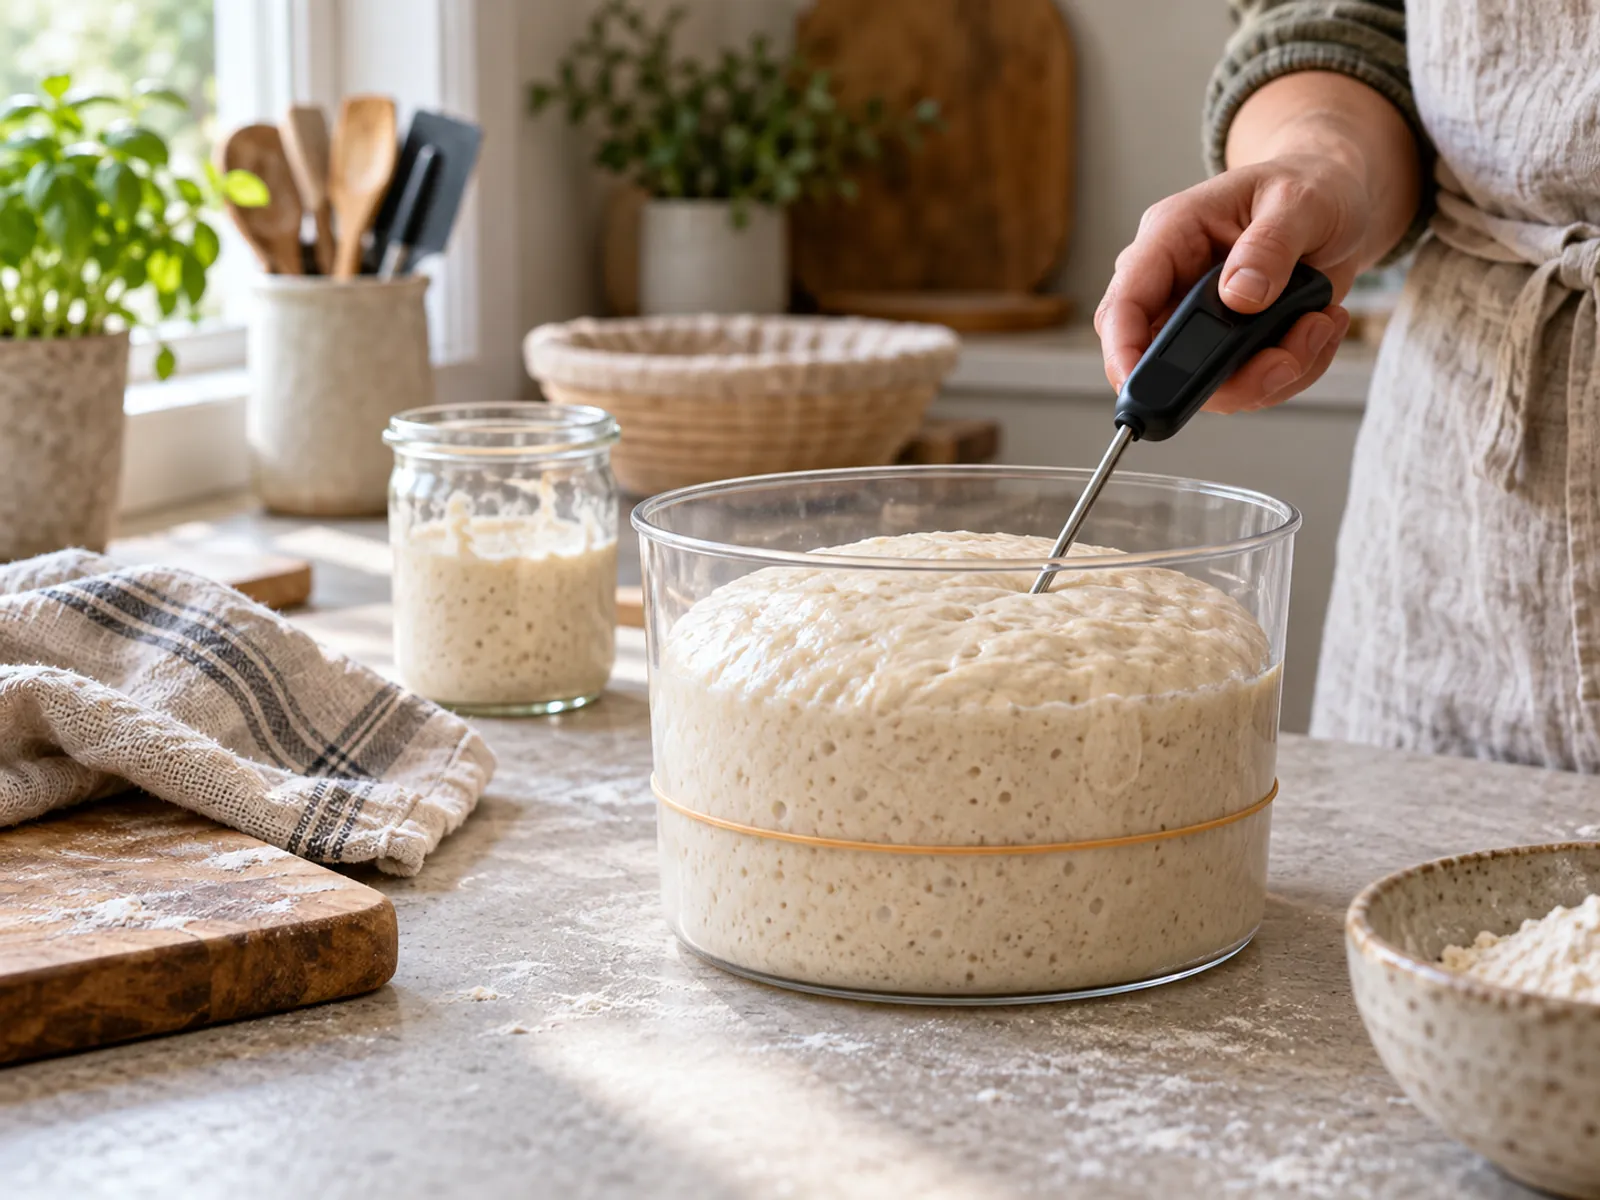
Record the dough temperature after mixing. A warm dough can move rapidly while you are occupied with folds; a cool dough may need longer than the example schedule below.
Build strength early and watch bulk
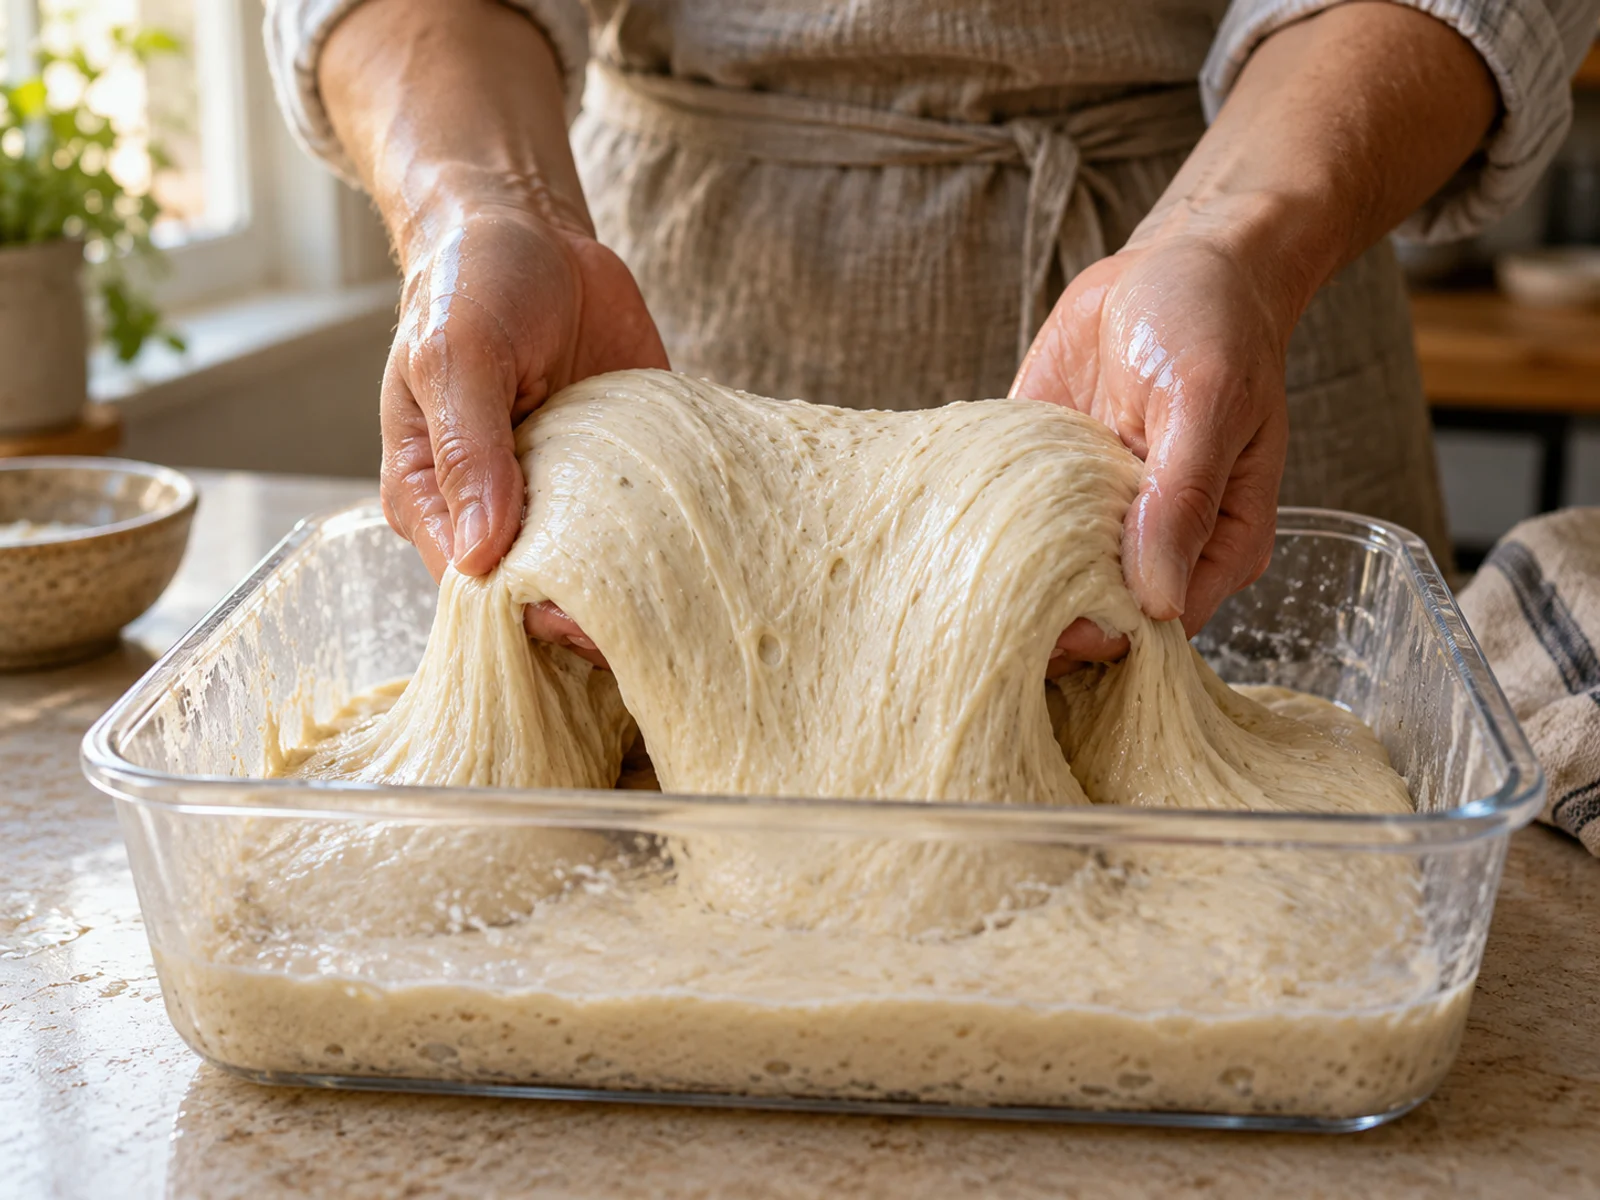
During the early part of bulk, check the dough after rests of roughly 30 minutes. Use a gentle bowl fold while it is loose, then coil folds when it lifts as one cohesive mass. Two to four early sets may be useful, but stop adding folds once the dough holds itself and has begun building gas.
For a planning starting point at moderate dough temperature, allow several hours rather than expecting a fast yeasted-roll timetable. Look for expansion, visible bubbles at the sides and a lighter, aerated feel. The exact rise depends on your flour strength and subsequent proof; do not demand doubling from every flour.
Use bulk planning to set checking times, then confirm with observations. If the dough flows without cohesion and tears late in bulk, extra folds will not restore a degraded network.
Related calculator
Bulk Fermentation Time Calculator
Enter dough temperature, starter %, flour blend, hydration and target rise to estimate bulk fermentation time — with fold times and a full bake schedule on the clock.
Divide without turning the dough into tight balls
Flour the work surface enough that the wet dough can release. Tip it out gently, ease it into an even rectangle and flour the top lightly. Divide into six similar rectangles with a scraper. Make decisive cuts and separate the pieces without repeatedly tugging them sideways.
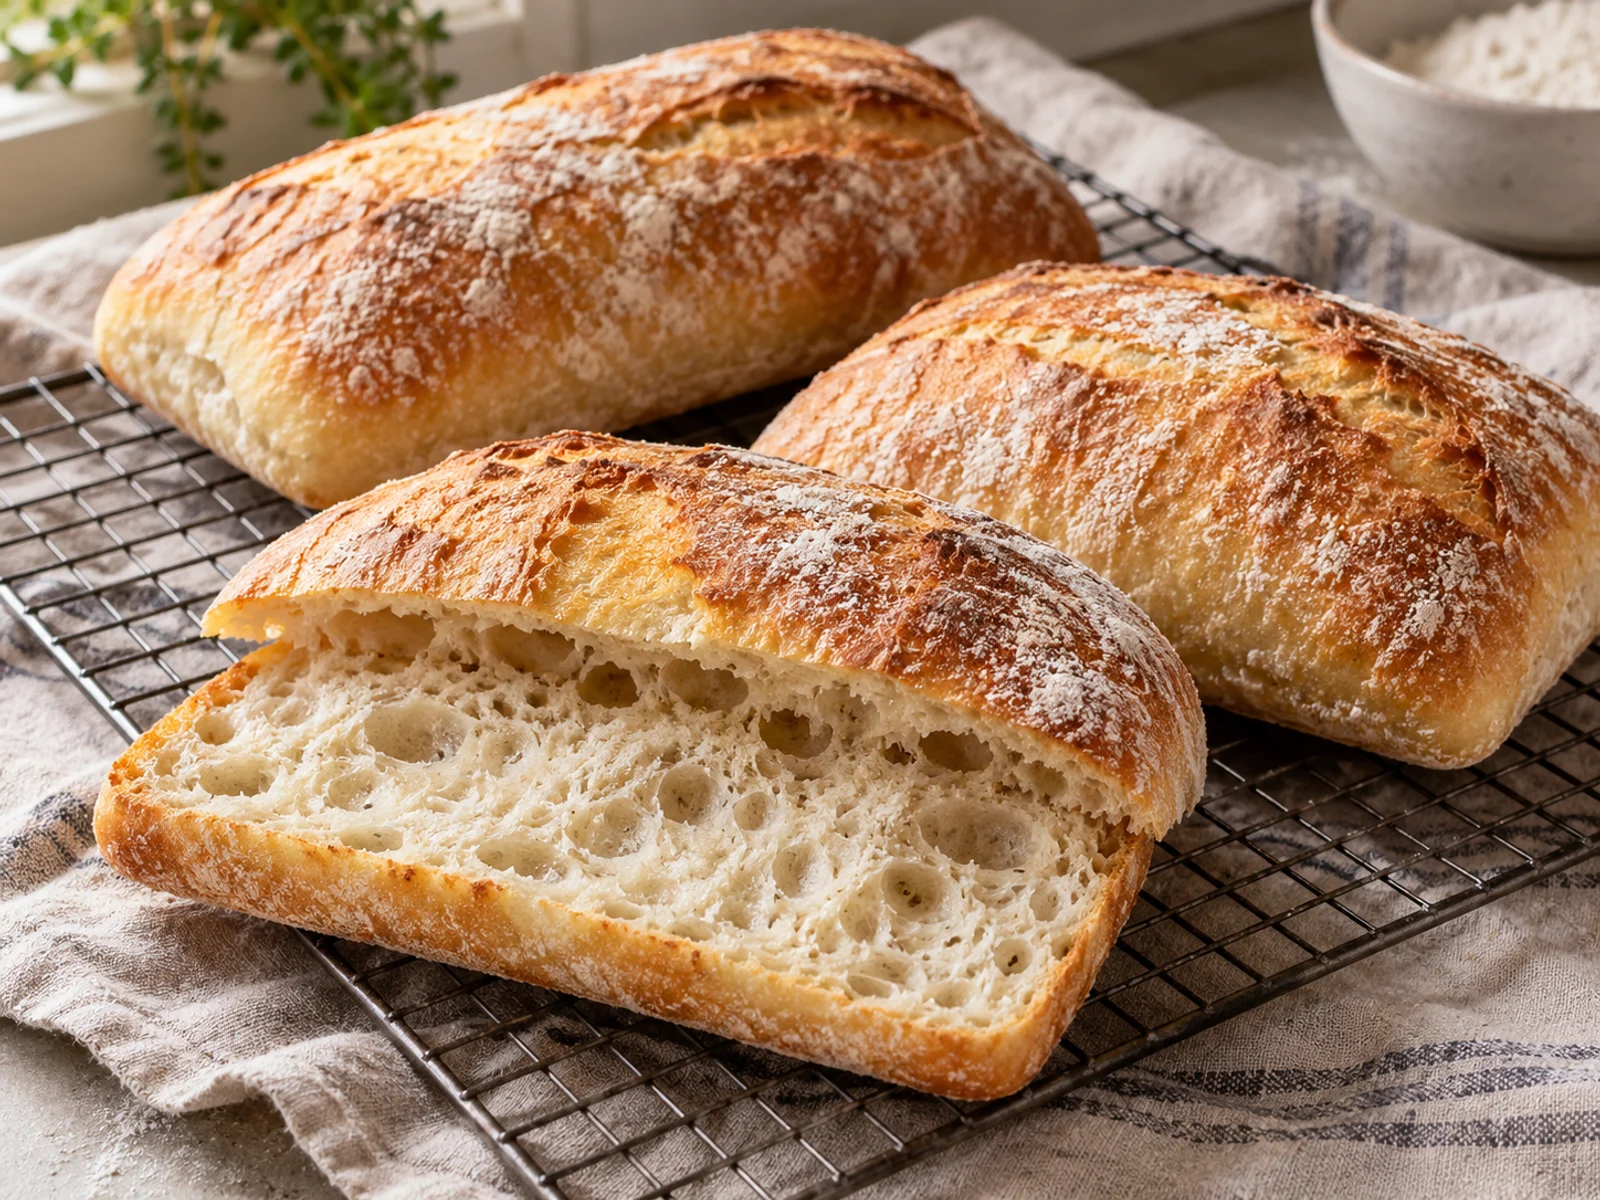
Do not preshape into tight boules: the ciabatta method preserves the airy rectangular dough. Slide floured hands or a scraper underneath each piece and transfer it to parchment or a supported proofing surface. Keep room for expansion. Brush excess loose flour away from areas that would otherwise burn.
If you must adjust a piece, lift and support it rather than pulling one end until it tears. Irregular small rectangles are acceptable; preserving internal gas is more important than ruler-perfect outlines.
Free Sourdough Baking Playbook (printable PDF)
A printable PDF companion for the sourdough calculators and guides.
Proof, preheat and bake
Cover without pressing on the dough and let the pieces become visibly puffy. This may take around 45–90 minutes at moderate room temperature, but judge the pieces rather than the timer. Start preheating in time for the baking surface to heat fully, following the manufacturer’s limits.
For these small lean rolls, a practical starting bake is around 230°C / 445°F in a conventional oven for roughly 20–25 minutes, adjusted to your oven and piece thickness. Look for a well-coloured crust and a baked centre, not merely the first pale shell. If you use a covered roasting-pan method, remove the cover partway through to dry and colour the crust.
Use only oven-safe equipment. Do not pour water onto glass, an oven floor or a hot baking stone. Check parchment limits. Transfer baked rolls to a rack and cool before slicing so steam can escape and the crumb can settle.
Diagnose dense, flat or gummy rolls
A tight crumb can come from under-fermentation or aggressive handling during division. A flat roll may mean excess water for the flour, weak development or fermentation taken too far. Compare the dough’s feel before division with the baked crumb rather than judging from a single large hole.
If the centre seems gummy, check bake completion and cooling before increasing fermentation. If the surface is very dark while the centre remains wet, make smaller pieces or adjust the oven setting. If the dough sticks everywhere, reduce water in the next batch and improve early strength rather than adding handfuls of flour during shaping.
Store cooled rolls for short-term eating in a way that balances crust and moisture. For a later meal, freeze and refresh rather than leaving them uncovered for days. See bread storage.
Recipe context and further reading
This formula is provided as a researched, arithmetic-checked starting method, not a claim of an in-house test bake. Record your flour, water actually added, dough temperature and proof observations so the next batch is reproducible.
For an expert naturally leavened example see The Perfect Loaf’s ciabatta. For a distinct enriched/hybrid style see King Arthur’s ciabatta sandwich rolls. Their doughs and schedules are not interchangeable. Continue with our fold comparison if wet handling is the main difficulty.