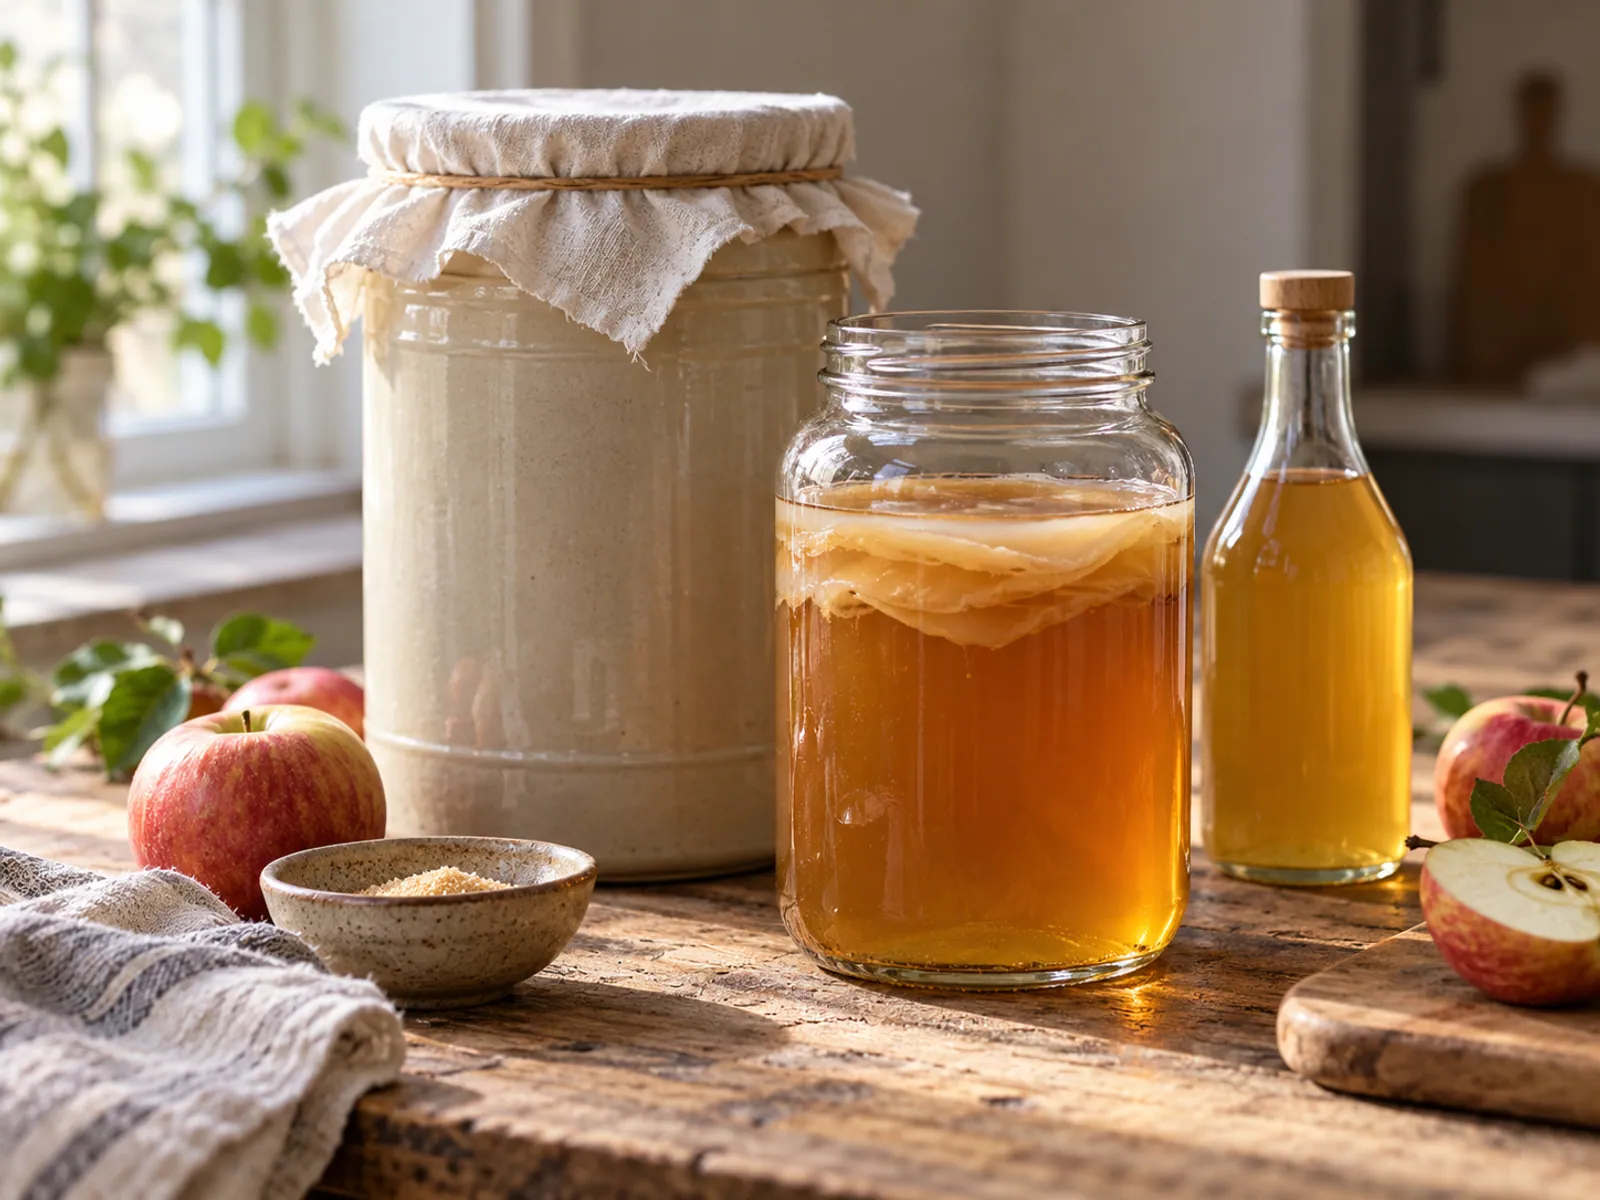
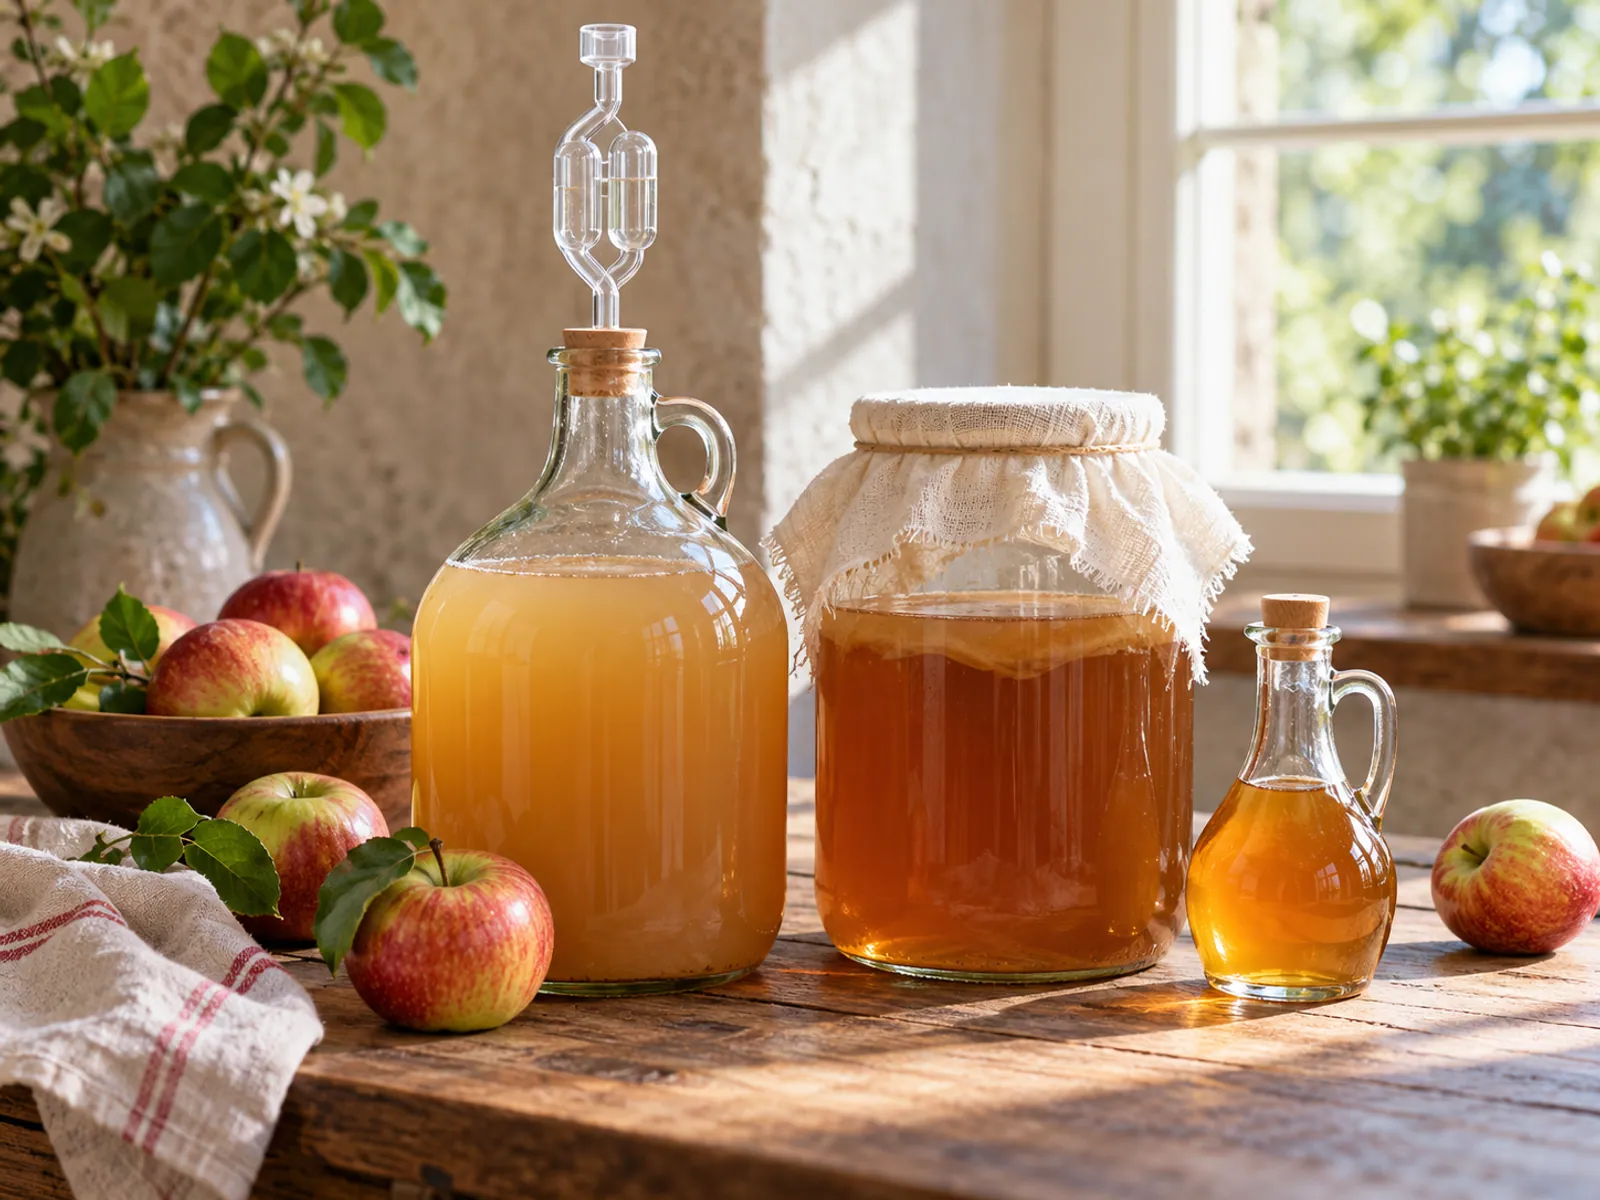
Real apple cider vinegar is just apples, yeast, bacteria and time. Yeast turns the sugar in apple juice into alcohol, and acetic acid bacteria then turn that alcohol into vinegar. Doing the two stages separately, with a little help from a raw vinegar starter, gives a cleaner, stronger vinegar than leaving juice on the counter and hoping. This guide is the full home method; for the science behind it, see how vinegar is made.
What you need
Stage one: apple juice to hard cider
- 1Pitch the yeast Pour the juice into a clean jar or bottle, leaving a little headspace. Add a pinch of yeast (about 1 g per 4 litres is plenty) and fit an airlock or a loosely screwed lid.
- 2Ferment 1–2 weeks Keep it at 18–24°C. It will bubble for several days, then slow. Fresh, unpasteurized cider fermenting on wild yeast may take a few days longer to start.
- 3Check it is dry It is ready for stage two when the bubbling has stopped and it tastes dry, not sweet. A hydrometer reading near 1.000 confirms it. Leftover sugar is fine but makes a softer, sweeter vinegar.
Apple juice usually starts around 1.045–1.055 specific gravity and ferments to about 5.5–7% ABV, which is ideal for vinegar. If you would rather drink this stage, the full method is in how to make hard cider.
Stage two: hard cider to vinegar
- 1Add the starter Pour the hard cider into a wide jar, filling it no more than three-quarters full so there is plenty of surface area. Stir in 200 mL of raw vinegar per litre of cider (about 1 part to 5). More starter lowers the pH faster, which keeps mould away.
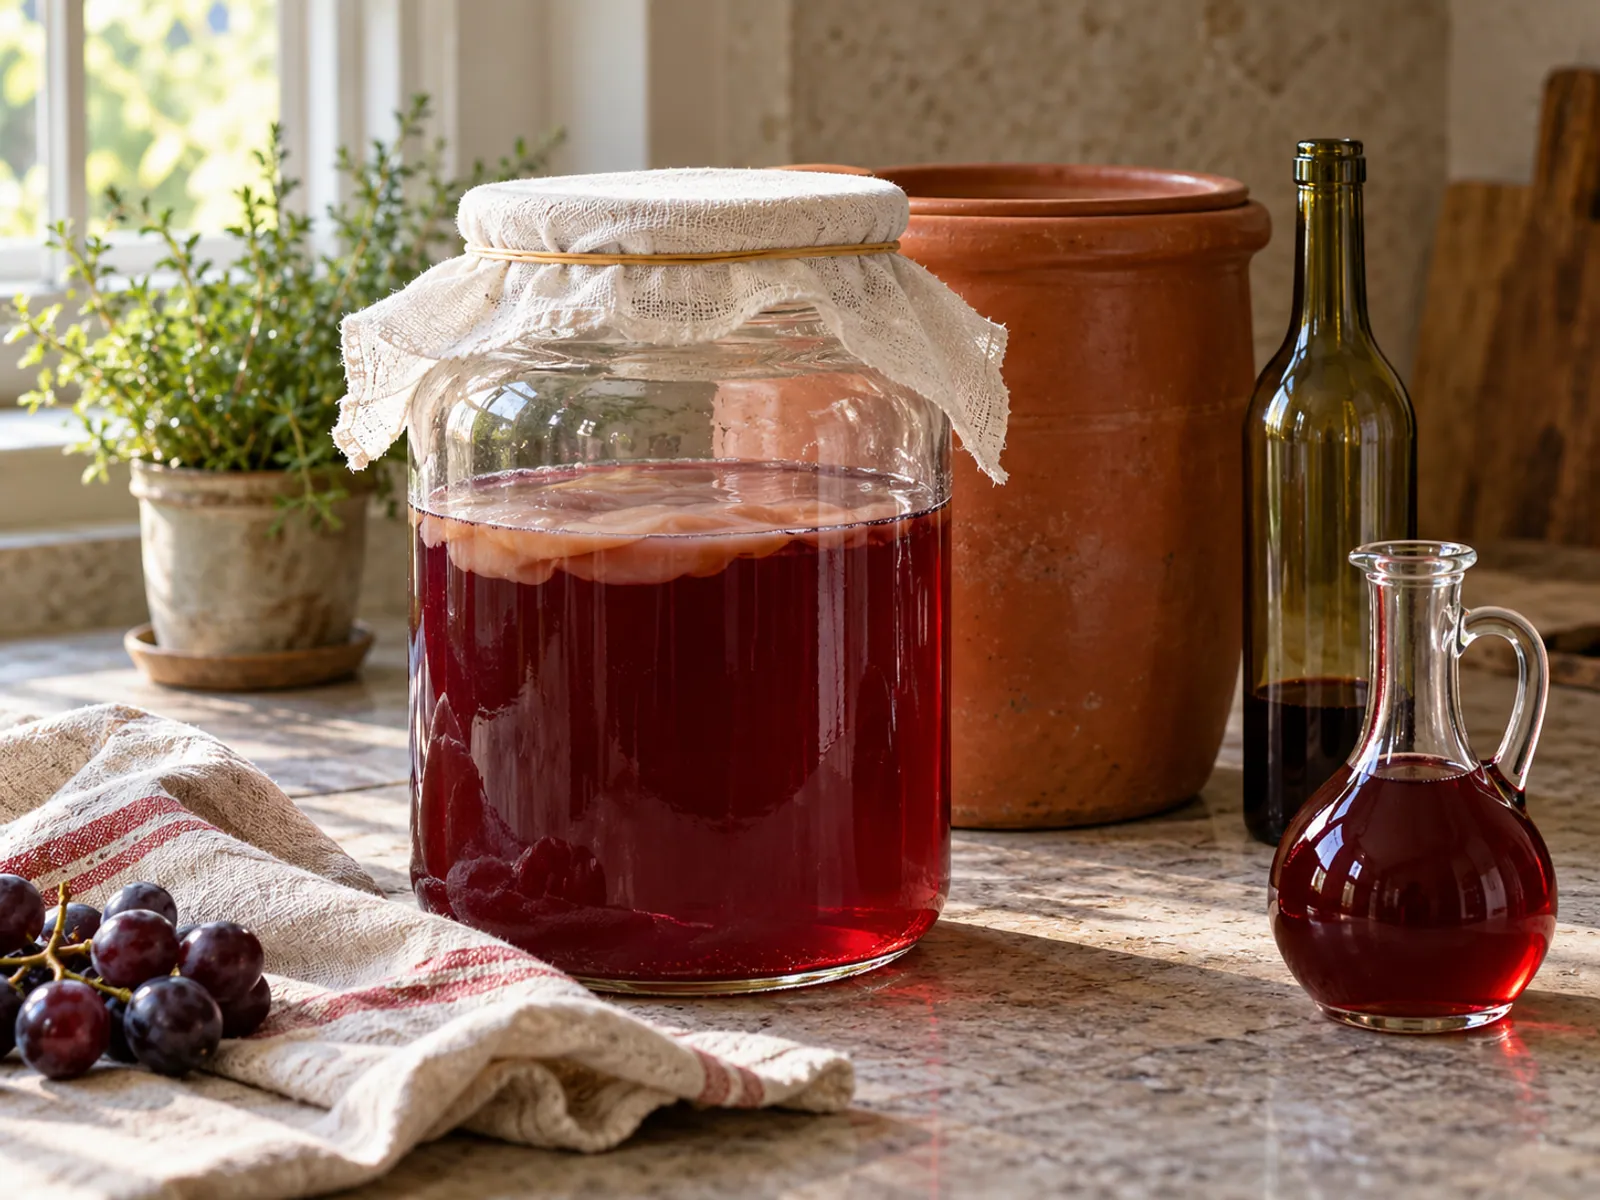
- 2Cover with cloth Secure a tightly woven cloth or a coffee filter with a rubber band. Acetic acid bacteria need air; fruit flies must stay out.
- 3Keep warm and still Leave it somewhere dark at 20–30°C (68–86°F); around 27°C is fastest. Do not stir or move it once a film starts forming on top.
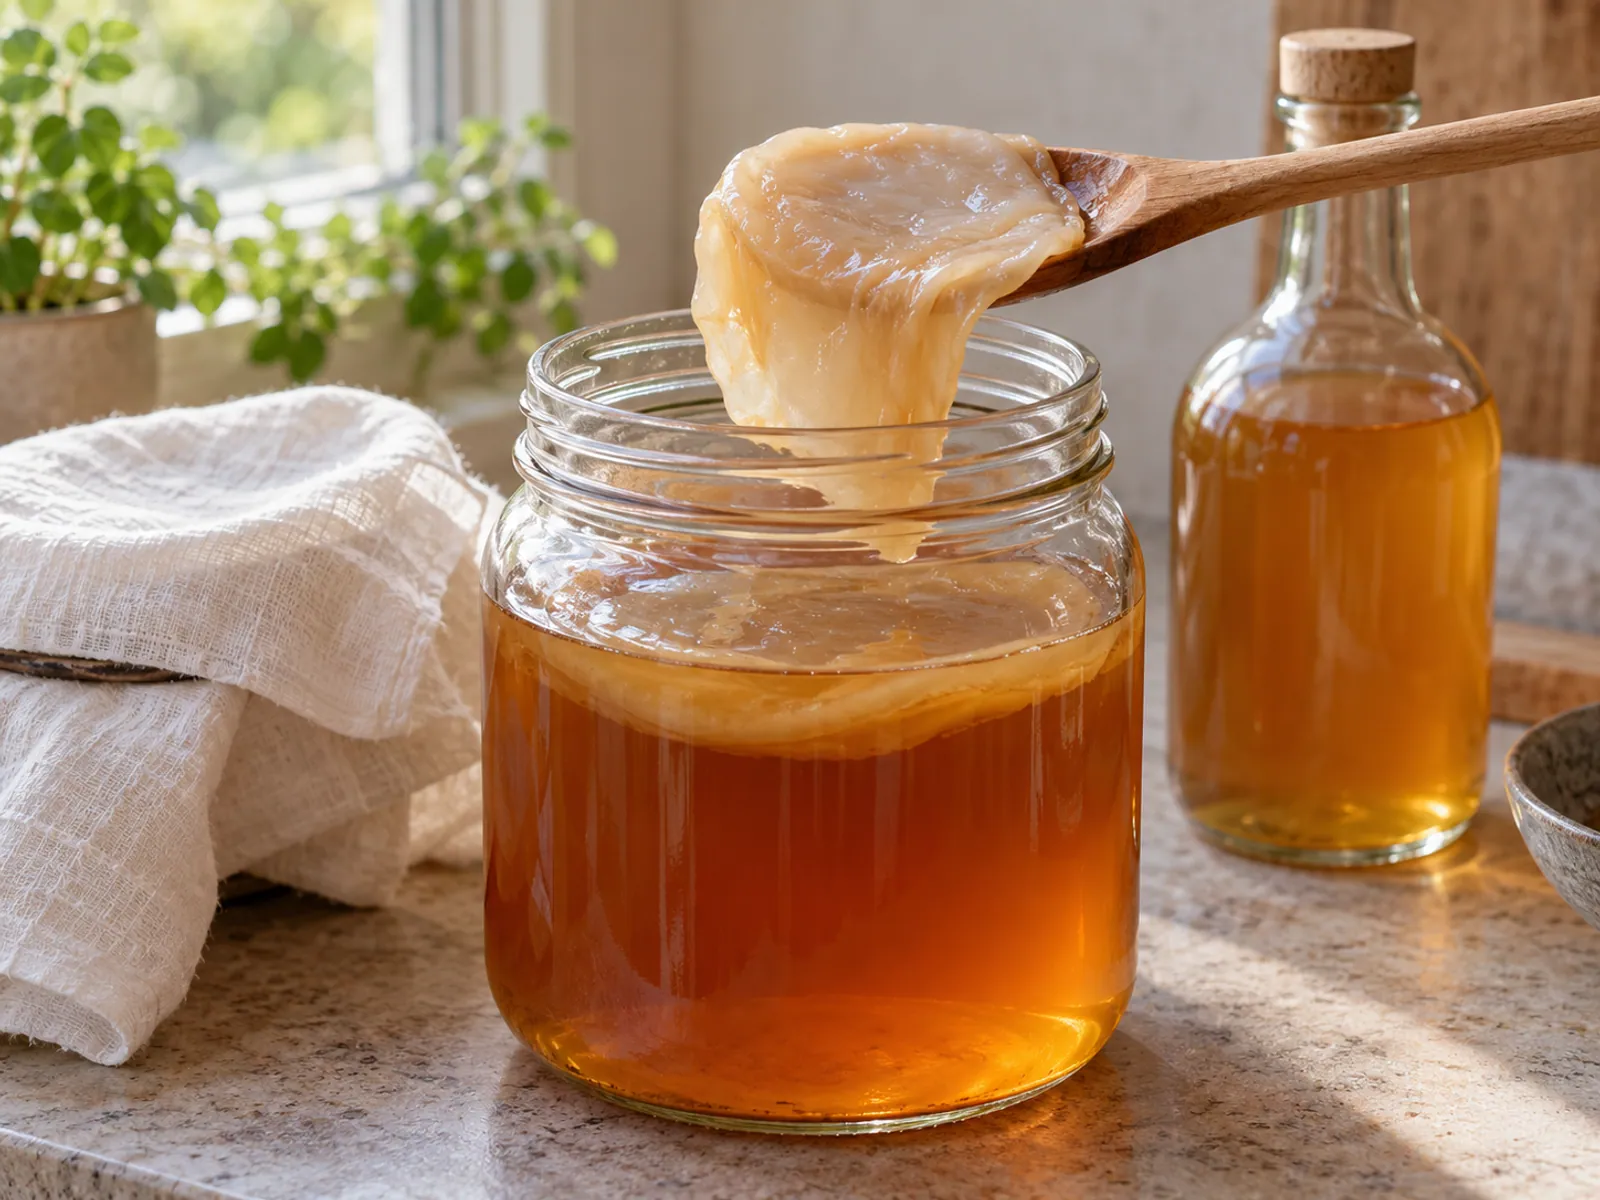
- 4Wait 4–8 weeks A thin, cloudy film appears within 1–2 weeks and thickens into a mother. From week four, taste a little by slipping a straw beneath the mother.
- 5Bottle When it is sharply sour with no alcohol smell, strain it into bottles and cap tightly. Keep the mother and some vinegar to start the next batch.
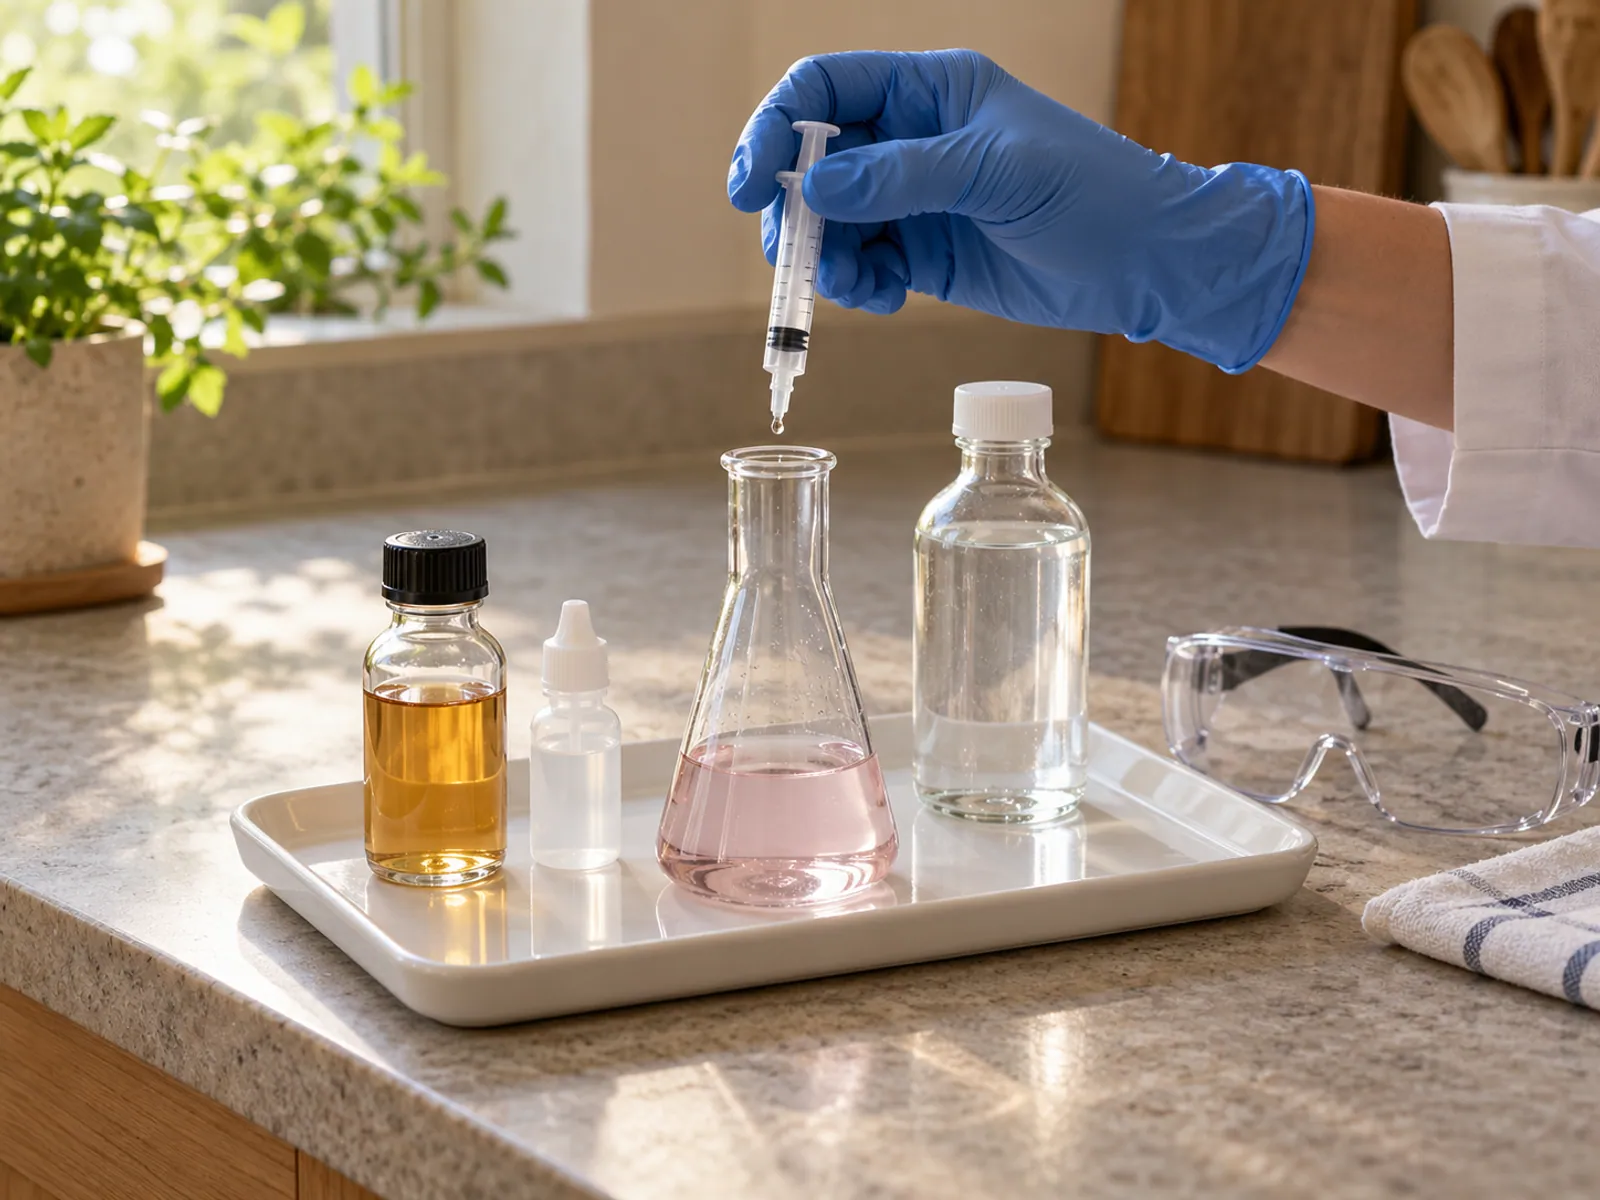
Related calculator
Vinegar Acidity Calculator
Work out the acidity of homemade vinegar from a titration test, and how much water dilutes it to a target strength.
How to tell when it is ready
Once bottled with the lid on, the vinegar stops developing because the bacteria run out of air. It keeps indefinitely in a cool cupboard, and a new, thin mother may form in the bottle; that is harmless. Heating the vinegar to about 60–70°C before bottling stops this if you prefer a clear vinegar, but it also kills the live culture.
Other ways to start
Troubleshooting
Watch for
- Fuzzy, raised mould on top Discard. Next time use more starter vinegar so the liquid is acidic from day one.
- No film after three weeks Too cold, too little starter, or a pasteurized starter. Move it somewhere warmer and add more raw vinegar.
- Still smells of alcohol after eight weeks The jar is too narrow or too full. Pour into a wider vessel to give it more surface.
- Weak and watery The cider was low in alcohol or the jar sat somewhere hot and the alcohol evaporated. Use it for dressings rather than pickling.
- Fruit flies or vinegar eels The cloth was too loose. Strain, heat to 60°C to kill eels, and cover with a tighter weave.
The mother itself, how to keep it and how to tell it from mould are covered in the vinegar mother guide.